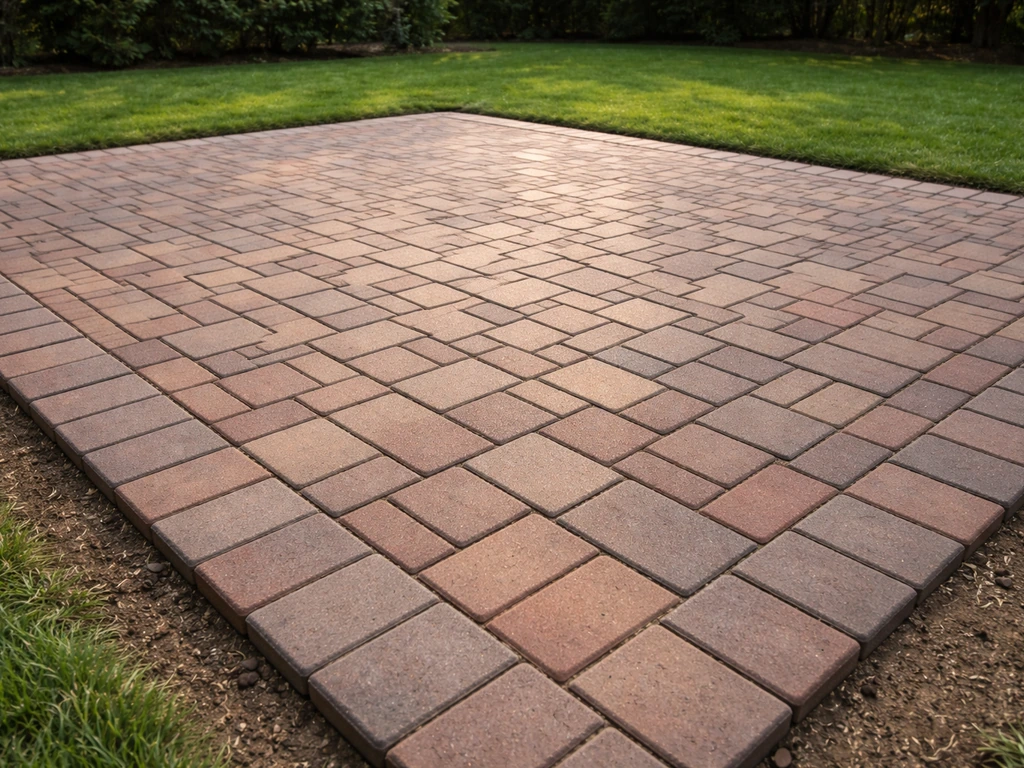
You can build a solid, good-looking brick patio yourself in a weekend or two. The process comes down to six things done in the right order: plan the size and pattern, excavate about 8 to 10 inches deep, compact a gravel base, screed a 1-inch sand bed, set bricks to a string line, then lock everything in with jointing sand. Get those steps right and the patio will stay flat and drain properly for years. Rush any of them and you'll be releveling bricks by the following spring.
How to Build a Brick Patio: Step-by-Step DIY Guide

Clara Farrell
2 May 2026
Plan the size, layout, and pattern first
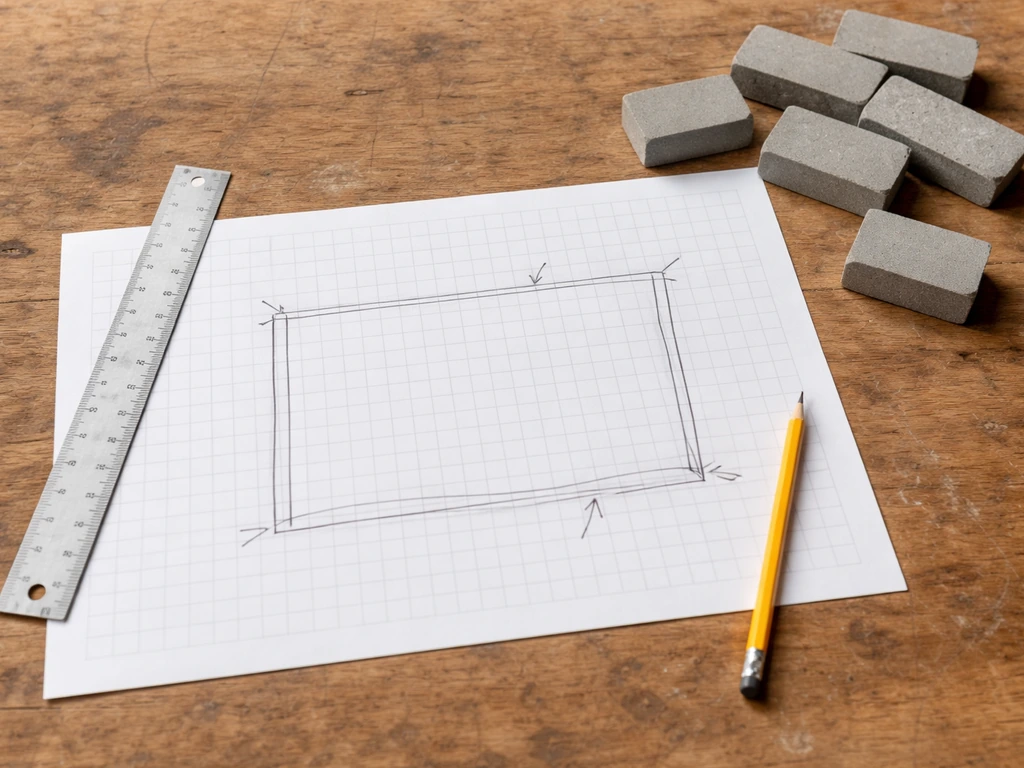
Start on paper before you touch a shovel. Sketch your space to scale and decide on dimensions. A small brick patio for a table and four chairs works fine at 10 x 12 feet, which is a manageable first project. Larger entertaining areas can push to 16 x 20 feet or more, but the process is identical, just more material and more time.
The most important number in your plan is slope. Every patio needs to drain away from the house. The standard is 1 inch of drop for every 8 to 10 feet of horizontal run. A 10-foot-wide patio should sit about 1 inch lower at the outer edge than at the house wall. Mark this into your design from the start because it affects your excavation depth on each side.
For brick pattern, stick to running bond or basketweave if this is your first time. Running bond is the classic offset brick look, simple to lay, and very forgiving. Basketweave pairs bricks in alternating directions and looks great without complex cuts. Herringbone is beautiful but involves angled 45-degree cuts at every edge, which adds real complexity. Stacked bond (also called jack-on-jack, where all joints line up) is another easy option, though it's weaker structurally without rigid edge restraints. For most DIYers, running bond is the sweet spot between looks and ease.
Materials and tools you'll need
Get everything on this list together before starting. Running to the hardware store mid-project is how mistakes happen. Order about 10% more brick than your square footage calculation calls for to account for cuts, breakage, and pattern waste.
Materials
- Clay or concrete bricks/pavers (quantity = patio sq ft x 1.10 for 10% waste buffer)
- Crushed gravel or compactable base material (enough for 6 to 8 inches of depth across the area)
- Coarse bedding sand (enough for a 1-inch layer across the entire patio footprint)
- Polymeric jointing sand (for filling joints and locking bricks in place)
- Plastic paver edging with steel spikes
- Geotextile landscape fabric (weed barrier between subgrade and gravel base)
- Marking paint or chalk line for layout
Tools
- Spade and flat-edged shovel
- Wheelbarrow
- Plate compactor (rent this — don't skip it)
- Long screed board, aluminum screed bar, or wide screed rake
- Rubber mallet
- Mason's string line and line level
- Wooden or metal stakes
- Tape measure and carpenter's square
- Brick saw or angle grinder with diamond blade (for cuts)
- Push broom
- Garden hose with spray nozzle
- Hand tamper (for edges the plate compactor can't reach)
Site prep and excavation
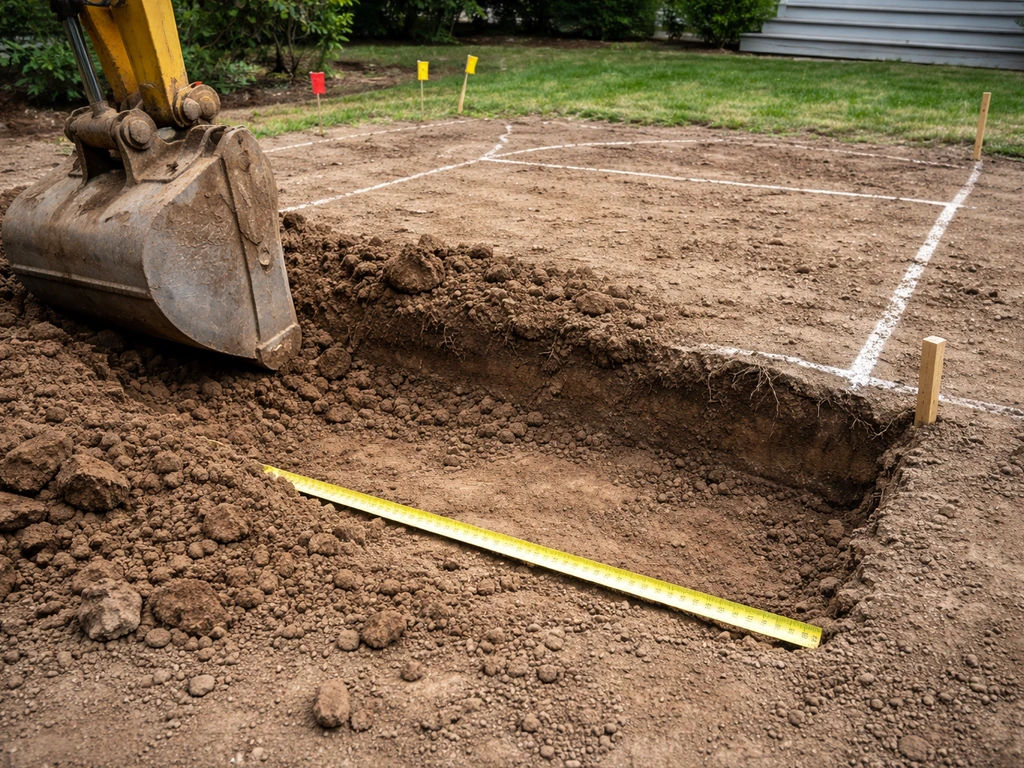
This is the step most people underestimate, and it's the one that determines whether your patio lasts. Call 811 (or your local utility marking service) before you dig. Once you're clear, mark out the patio perimeter with stakes and string, then add 6 inches on each side to give yourself working room for edging.
Excavate to a depth of 8 to 10 inches below your planned finished surface. That depth breaks down as: 6 to 8 inches of compacted gravel base, plus 1 inch of bedding sand, plus the brick thickness (typically about 2-3/8 inches for standard pavers). On paper those numbers add up to more than 10 inches, but compaction reduces the gravel layer, so 8 to 10 inches of excavation is the practical target for most patio builds.
If you're dealing with clay soil, pay extra attention here. Clay drains poorly and expands when wet, which pushes bricks up. On clay sites, go a full 10 inches deep and be generous with your gravel base. Some builders also add a thin layer of coarse sand directly on the clay before the gravel to help water move down and away. If you have a significant slope to deal with, you'll either need to step the excavation or plan for a raised brick patio section, a separate but related project that's worth reading about before you commit to a design.
After excavating, rake the subgrade flat and check your slope. You want that 1-inch-per-8-to-10-feet drop built into the bottom of your excavation so every layer above it carries the same pitch. FLEXLOCK SAND installation requirements specify a minimum slope of 1/8 inch per linear foot away from structures or pools for performance. Compact the exposed soil with the plate compactor before adding anything else.
Building a solid base, the most important part
A brick patio is only as good as what's underneath it. The base is what keeps bricks from sinking, shifting, or heaving, and it's where most DIY patios fail when they're done wrong.
Geotextile fabric
Before adding any gravel, roll out a geotextile landscape fabric over the compacted subgrade. This layer separates the soil from your gravel base, prevents fine particles from migrating up into the gravel over time (which causes sinking), and suppresses weeds. Overlap seams by at least 12 inches and run the fabric up the sides of the excavation. You'll trim the excess later.
Gravel base and compaction
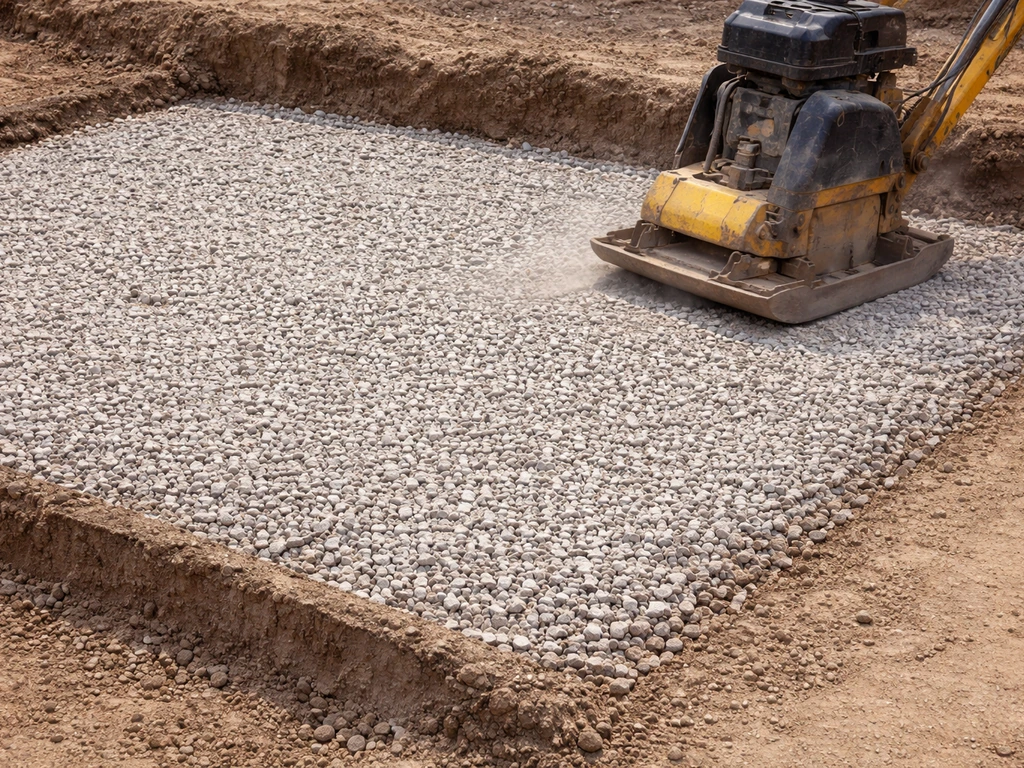
Add crushed compactable gravel (typically 3/4-inch crusher run or processed gravel) in layers of no more than 3 to 4 inches at a time. Compact each layer thoroughly with the plate compactor before adding the next. You're aiming for a total compacted depth of 6 to 8 inches. Don't try to dump it all in and compact once, it won't compact evenly through thick layers and you'll end up with soft spots.
Run the compactor in overlapping passes, going back and forth across the area in one direction, then again perpendicular. Near the edges where the machine can't reach, use a hand tamper. Check your slope at the top of the compacted gravel base before moving on, it should already reflect your planned drainage pitch.
Bedding sand
Once the gravel base is compacted and level (with your slope built in), add a 1-inch layer of coarse bedding sand. This isn't for drainage, it's a fine adjustment layer that lets you set each brick at exactly the right height. Spread the sand evenly, then screed it flat using a straight board or aluminum screed bar.
A common technique is to set two screed rails (or pipes) on the gravel base as guides, fill in the sand between them, and drag the screed board across the rails. Pull the rails out after screeding each section and fill those channels with sand. Don't compact the sand and don't walk on it once it's screeded, keep it loose and undisturbed until the bricks go down.
Setting edging and establishing your layout lines
Edge restraints are what keep the whole system together. Without them, bricks at the perimeter gradually migrate outward and the whole patio slowly loosens. Install plastic paver edging around the perimeter of the patio before you start laying bricks. Drive the steel spikes through the edging every 12 to 18 inches, and space them closer together at corners and curves. The top of the edging should sit just below the finished brick surface so it's nearly invisible once the project is done.
Run string lines across the patio before laying a single brick. Tie string to stakes set at the correct finished height at both ends of each row, using a line level to confirm they're true. These strings are your reference for both height and alignment. Set them up in both directions, along the length and across the width, so you can check every brick against a horizontal and vertical reference as you go. This step feels tedious but it's what keeps a large patio from gradually drifting out of square.
Laying the bricks
Start in one corner, ideally the corner that's most visible or that will receive the most fixed borders (like a house wall). Work outward toward the open edges. Place each brick by setting it down gently without sliding it, sliding disturbs the screeded sand bed and creates uneven spots. Use the rubber mallet to tap each brick level with the string line, checking frequently that the surface stays flush with your neighbors.
Keep joints consistent. Most brick and paver systems are designed for joints of about 1/8 to 3/16 of an inch. Consistent joint spacing is what makes a pattern look deliberate and professional. Check your string line alignment every few rows and correct any drift early, small errors compound fast.
Cutting bricks for edges and borders
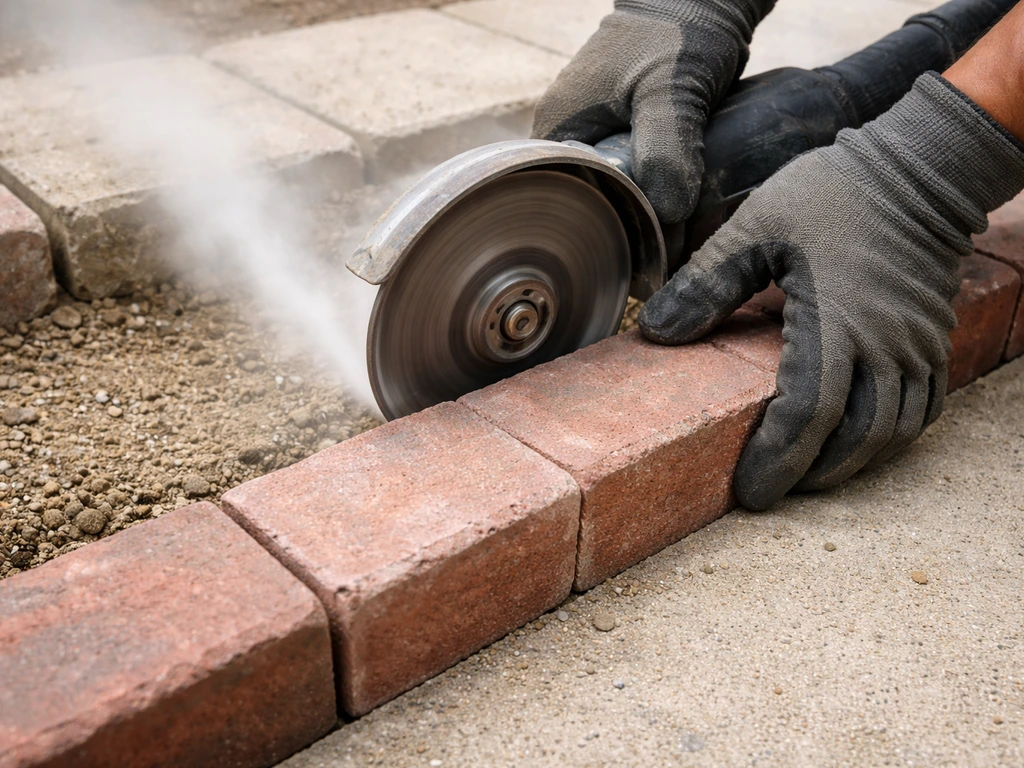
You'll need to cut bricks wherever the pattern meets an edge, wall, or curve. Mark the cut line with a pencil or chalk, then use a brick saw or an angle grinder fitted with a diamond blade. Always wear eye protection and a dust mask when cutting. For running bond, edge cuts are simple straight cuts, measure the gap, subtract your joint width, and cut. For basketweave or herringbone, cuts get a little more complex, but the same tools handle it.
Don't force cut pieces that are smaller than about a third of a full brick into exposed positions, they look bad and they're weak. Adjust your starting point or layout if cuts are coming out too small at the edges.
Pattern options at a glance
| Pattern | Difficulty | Cuts Required | Best For |
|---|---|---|---|
| Running Bond | Easy | Straight edge cuts only | First-time DIYers, any size patio |
| Basketweave | Easy to Moderate | Straight cuts at edges | Classic look, square patios |
| Stacked Bond (Jack-on-Jack) | Easy | Straight cuts only | Modern look, requires strong edging |
| Herringbone | Moderate to Hard | Many angled 45° cuts | High-end look, best left for experienced DIYers |
Finishing: jointing sand, sealing, and ongoing maintenance
Sweeping in jointing sand
Once all bricks are laid and you're happy with the surface, run the plate compactor over the entire patio one more time (use a protective rubber pad or plywood sheet under the plate so you don't chip the brick surface). This final pass seats everything firmly. Then sweep coarse sand or polymeric sand diagonally across the surface with a stiff broom, pushing it into every joint. This matches ICPI technical spec guidance to sweep and compact dry joint sand into paver joints until they are completely filled after compaction pushing it into every joint. Sweep multiple times from different directions until the joints are full to just below the surface.
Using polymeric sand
Polymeric sand is the better long-term choice over plain sand because it hardens slightly when wet and resists ants, weeds, and washout. To keep your patio joints tight and help the base last, avoid relying on cement and instead use the right jointing material for brick patios polymeric sand. The key rule is to work on dry bricks only, do not apply polymeric sand to a damp surface.
After sweeping it in, blow off any excess with a leaf blower (or sweep it clean), then lightly mist the surface with a garden hose to activate the binder. Don't flood it. Too much water causes puddling that pushes the sand back out of the joints and leaves a hazy film on the brick surface that's hard to remove. Follow the manufacturer's timing instructions for how long to let it cure before foot traffic.
To seal or not to seal
Sealing a brick patio enhances color and adds some protection against staining, but don't rush it. New patios need time for the jointing sand to settle and stabilize, and for any trapped moisture or natural salts in the brick to work their way out. If you seal too early, you can trap that moisture and end up with efflorescence, those chalky white deposits that appear on brick surfaces when mineral salts migrate to the top with evaporating water.
Most experienced builders recommend waiting at least one full season (ideally 6 to 12 months) before applying a sealer. If you do see efflorescence, don't panic, it typically fades on its own with rain and time, and there are specific efflorescence cleaners that speed up the process.
Common problems and how to fix them
- Sunken or unlifted bricks: Usually a sign of inadequate compaction or thin base. Pull up the brick, add sand to level, reset and check with a straight edge.
- Bricks rocking: Sand bed wasn't screeded evenly, or the brick is sitting on a high spot. Remove the brick, adjust the sand, and reset.
- Joints washing out: Jointing sand wasn't packed fully, or water was applied too aggressively. Resweep and re-wet properly, or switch to polymeric sand.
- Water pooling on surface: Drainage slope is off. Check with a level — you may need to pull up a section and re-screed the sand bed with a corrected pitch.
- Edges shifting outward: Edging spikes are too far apart or weren't driven deep enough. Add more spikes at 12-inch intervals and press the edging back into place.
- White haze on surface after polymeric sand: Water was applied too heavily or bricks were damp. Let it dry fully and use a manufacturer-recommended cleaner to remove residue.
A note on more complex builds
Everything covered here applies to a standard ground-level patio on reasonably flat terrain. If your project involves a significant slope, a raised section with a brick retaining wall, brick steps leading down from a door, or an integrated fire pit area, those elements each bring their own structural considerations. If you want a fire pit on a brick patio, plan the fire-safe layout early so the surrounding bricks and base can handle heat.
Once you have the base and drainage right, you can follow these steps to build a brick patio wall that looks clean and stays solid over time brick retaining wall. A raised brick patio, for example, requires proper footings and wall construction beyond the scope of basic patio laying. Similarly, adding brick columns or a perimeter wall changes the load calculations entirely. Those are all doable DIY projects, but they deserve their own focused planning before you start digging.
Your next steps to get started
- Measure your space and sketch a scaled layout, including where drainage will run
- Choose your brick type and pattern, then calculate the quantity needed (add 10% for waste)
- Call 811 to have utilities marked before any digging
- Rent a plate compactor for the weekend — this is not optional
- Order materials: gravel, sand, bricks, edging, polymeric sand, and geotextile fabric
- Mark out your area with stakes and string, then start excavating to 8 to 10 inches
- Work through the layers in order: fabric, gravel (compacted in lifts), sand bed (screeded), edging, then bricks
- Finish with polymeric sand on dry bricks and let it cure before heavy use
The process is straightforward when you follow the order and don't skip the base work. Most first-timers are surprised by how achievable it is once they get through the excavation. Take your time on the base and leveling, and the brick-laying part is actually the fun bit. If you want a visual walkthrough, search for how to build a brick patio on YouTube to see the same steps in action how to build a brick patio youtube.
FAQ
Can I build a brick patio directly on existing concrete, pavers, or soil without removing anything?
Yes, but you still need compaction and drainage control. If you’re building over existing concrete or tightly packed ground, you’ll generally need to remove it or ensure a stable, properly sloped base (and in most cases build a new gravel-and-sand system on top). Don’t lay brick directly on cracked concrete or soft fill, it will telegraph movement into the joints and cause rocking over time.
How do I keep brick joints consistent and avoid a patio that looks uneven at the edges?
Use a simple checklist: plan for at least 1/8 inch joint spacing, keep the same joint width across the whole patio, and avoid “tight” joints near edges. Before you start, dry-lay a short section to confirm your pattern math, then adjust your starting line so cuts at the perimeter do not create inconsistent joint gaps or very tiny pieces.
What’s the best way to handle edge cuts so I don’t end up with tiny, weak brick pieces?
For cutting, avoid making very small border pieces in exposed areas. If cuts smaller than about a third of a brick would appear at the outside edge, shift your layout (move the starting line or adjust the patio dimensions) so border pieces are larger and the pattern stays balanced. Also remember to subtract joint width from your cut measurement, not just the brick-to-brick spacing.
Can I use polymeric sand if the patio surface or joints are slightly damp?
Polymeric sand should only be applied to clean, dry joints, and the surface needs to stay mostly dry during and after activation. If the forecast calls for rain soon, wait. If joints are damp from misting or dew, sweep everything out and let the patio dry before reapplying, otherwise the binder can fail and you may see washout or haze.
What should I do if my yard slope is steep, and I don’t want to do a long gradual ramp?
Instead of a full patio-wide slope that feels hard, you can create a stepped design (a higher upper terrace and a lower terrace) or build a raised section where grading changes. Either approach requires you to keep drainage working within each level, with matching base pitch under the brick area and secure edging between the terraces.
If my patio starts sinking or rocking after a season, what are the usual causes and how do I repair it?
If you see settling or rocking, the most common causes are an under-compacted gravel base, skipped fabric separation on clay or silty soil, or disturbing the bedding sand after screeding. The fix usually involves lifting bricks from affected areas, rebuilding the base and rescreeding sand at the right thickness, then resetting with the same string-line height references.
How should I transition my brick patio to a walkway, driveway, or the house foundation?
If you plan to add pavers as a walkway or connect to another surface, leave an expansion gap at transitions, especially at the house. A common approach is to maintain the patio slope to drainage while keeping a small buffer so movement does not push the patio against the adjacent structure or create a raised lip.
How do I know when it’s safe to seal, and what should I check first to prevent efflorescence?
Before sealing, correct jointing first. If joints are still loose or not fully filled after the polymeric sand cures, refill per the sand instructions and let it fully set before any sealer. Sealing too early or over damp joints can trap moisture and increase the chance of efflorescence showing up later.
Can I build a fire pit directly on the same brick patio, or do I need special base planning?
Yes, but you need to treat it as a structural change, not just a decorative upgrade. Plan the fire pit location so surrounding bricks are supported by a properly prepared base, with additional heat-resistant clearance from combustibles and an appropriate non-combustible internal fire structure. Layout it early so you can plan cuts, edging, and base thickness around the insert.
How do I avoid digging too shallow in one spot and too deep in another while keeping the patio level?
A good rule is to remove only what you need and keep the base consistent everywhere, but verify your depth at multiple points because soil and compaction vary. Measure finished height frequently against your string reference, and confirm the top of edging aligns just below brick height so the perimeter stays locked without a visible bump.