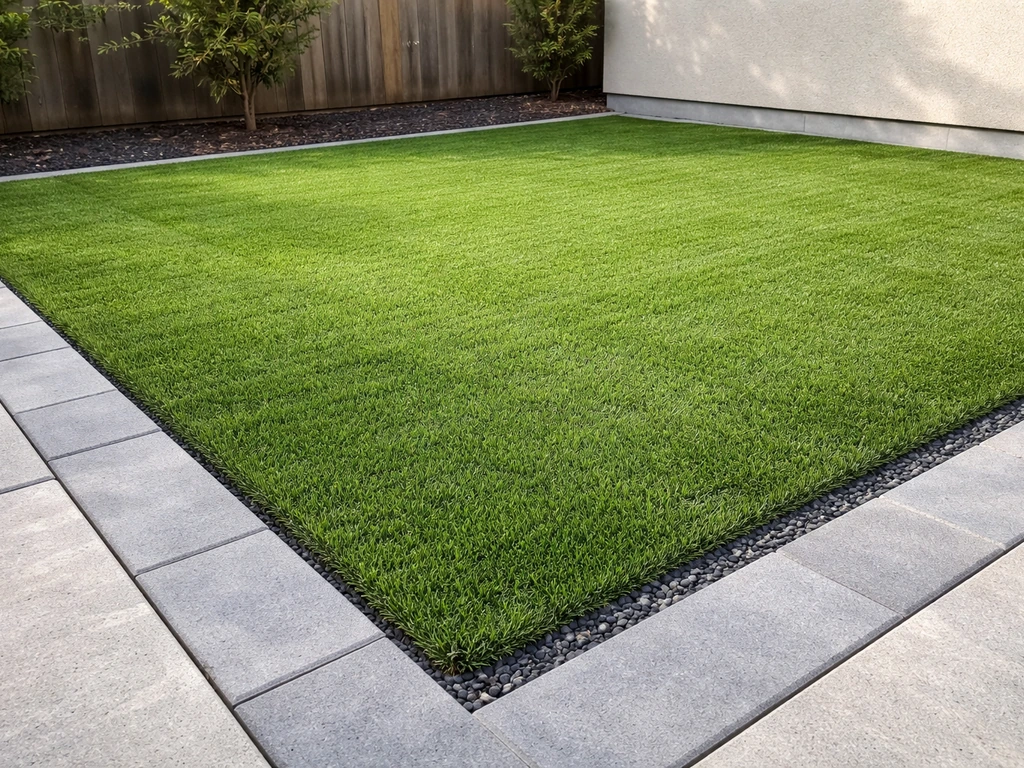
You can install turf on a patio by laying artificial grass directly over a clean, adequately draining hard surface (like concrete or pavers) using a drainage mat and adhesive, or by building a compacted aggregate base from scratch where you need more control over drainage and level. The key steps are checking and correcting slope, laying a weed barrier or drainage layer, rolling out and cutting the turf, seaming any joins invisibly, and locking down the perimeter so edges never lift. Done right, it should look clean and last 10 to 15 years with minimal upkeep. Rubber patio tiles can be installed in a similar way on a clean, level surface, using the right underlayment or edging to prevent shifting and gaps.
How to Install Turf on a Patio: DIY Step-by-Step Guide

Clara Farrell
29 Jun 2026
Choosing the right turf for a patio setup
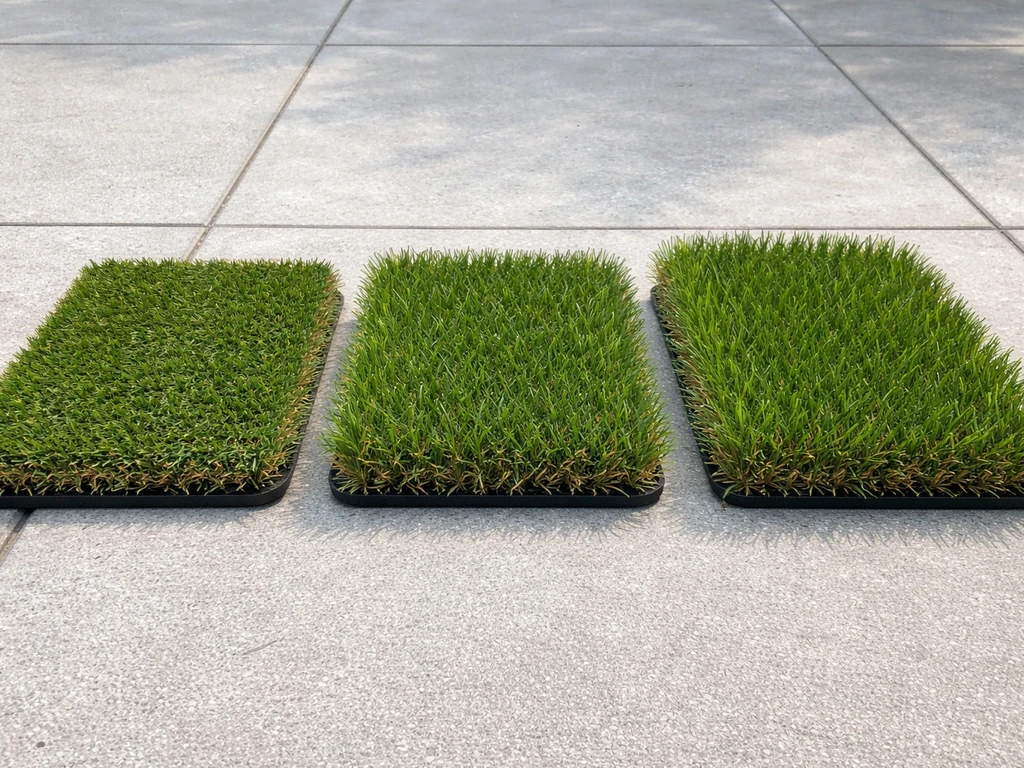
Not all artificial grass is the same, and patio installations have specific demands that rule out cheaper or poorly specified products. The most important feature to check is the backing. You want a product with perforated or flow-through backing so water drains out rather than pooling underneath. Royal Grass builds small drainage holes directly into the backing for exactly this reason, and Trulawn's Pooch Plus uses what they call a "super-flow mesh" backing designed to let liquid drain through the entire product. If you're installing in an area where pets will use the space, look for those flow-through or mesh-backed options specifically.
Pile height is the next decision. For a patio, a 30–37mm pile is a good all-round choice. Go shorter (25–30mm) if you want a neat, low-maintenance look that holds up to furniture legs and foot traffic. Go taller only if aesthetics are the priority and you're prepared to brush it more often. For pet areas, Rymar USA's Pet & Paver Premium Synthetic Turf is designed specifically for hardscape and pet use, with polyurethane backing and UV protection built in. UV stabilisation matters on a patio because the surface is often exposed and heat builds up fast, especially on south-facing slabs.
If pets are part of the picture, infill choice matters as much as the turf itself. Zeolite mineral infill and antimicrobial coated sand are the two best options for odour control and hygiene while keeping drainage open. Avoid plain masonry sand, which compacts and kills drainage over time. On very hot days, patio turf can warm up significantly (similar to decking), so a light spray of water cools it down quickly enough to be comfortable.
Tools and materials checklist for patio turf installation
Having everything on site before you start saves you a half-finished job sitting in the rain. Here's what you'll need, split by install type.
For installing over an existing hard surface (concrete/pavers)
- Artificial grass with permeable/perforated backing
- Drainage mat or foam shock pad (permeable)
- Artificial turf adhesive (urethane-based)
- Seaming tape (turf-specific, double-sided)
- Sharp utility knife and spare blades
- Straight edge or chalk line
- Heavy roller (or rent one)
- Stiff-bristle brush or power broom
- Infill material (zeolite, antimicrobial sand, or crumb rubber)
- Edging strip (aluminium bender board or pressure-treated timber)
- Nails or anchor pins
- Tape measure and marker
For building a new base from scratch
- All of the above
- Class II road base or decomposed granite (2–3 inches depth)
- Plate compactor (hire one if needed)
- Woven geotextile weed barrier fabric with U-pins
- Edging nails or long galvanised stakes
- Spirit level and long straight board
- Garden rake and tamper
- Sand for final leveling layer (sharp sand, not masonry sand)
Assessing patio condition, drainage, and site preparation
This is the step most people skip or rush, and it's the one that causes almost every problem down the line. Spend real time here and the rest of the job goes smoothly.
Check your drainage first
Run a garden hose on the existing surface and watch where the water goes. You're looking for a minimum fall of about 1 percent, which works out to roughly 1/8 inch per foot (10mm per metre). FusionTurf recommends aiming for 1 to 2 percent fall toward a drain for patio installations on concrete, and that's a sensible target. If water pools anywhere, you either need to fix the slope, plan for a drainage channel, or factor in an additional drainage mat to move water sideways to an outlet. Don't skip this test. Pooling water under turf leads to odour, algae, and eventually a swollen, lifting surface.
Assess the existing surface
For concrete: check for cracks, heaving, or large uneven areas. Small cracks are fine. Large cracks (wider than a finger) or sections that have moved vertically need patching with a concrete repair compound before anything goes down. For pavers: check if any are rocking, sunken, or have wide open joints. Re-bed loose pavers and fill joints so the surface is stable. If joints are deep (more than 5mm), consider a separation fabric layer on top to prevent the turf texture from "telegraphing" the joint lines through the surface.
Prep the surface
Sweep or blow the surface clean. Remove any moss, algae, or loose material. If you're working on concrete, a pressure wash and a day to dry is worth doing. On a bare earth area adjacent to a patio, remove any existing grass, roots, and organic material to a depth of about 75–100mm (3–4 inches). If your patio base is currently grass, you need to clear it out completely so the turf can sit on a stable, properly prepared surface remove any existing grass, roots, and organic material. The cleaner and more stable your starting surface, the better your finished result.
Base building and leveling vs installing directly over existing patio
You have two real-world starting points: an existing hard surface you want to cover, or a bare/unprepared area next to or replacing a patio. Each has a different workflow.
| Situation | Base approach | Key concern |
|---|---|---|
| Existing concrete slab | Drainage mat + adhesive directly on slab | Slope and drainage must already be correct |
| Existing pavers (stable) | Separation fabric + drainage mat + adhesive | Preventing joint telegraphing and edge lift |
| Bare ground / new area | Excavate + compacted road base + weed barrier | Compaction, level, and long-term stability |
| Sloped/uneven ground | Excavate + regrade + road base + compaction | Getting drainage fall right and a flat surface |
Building a base from scratch
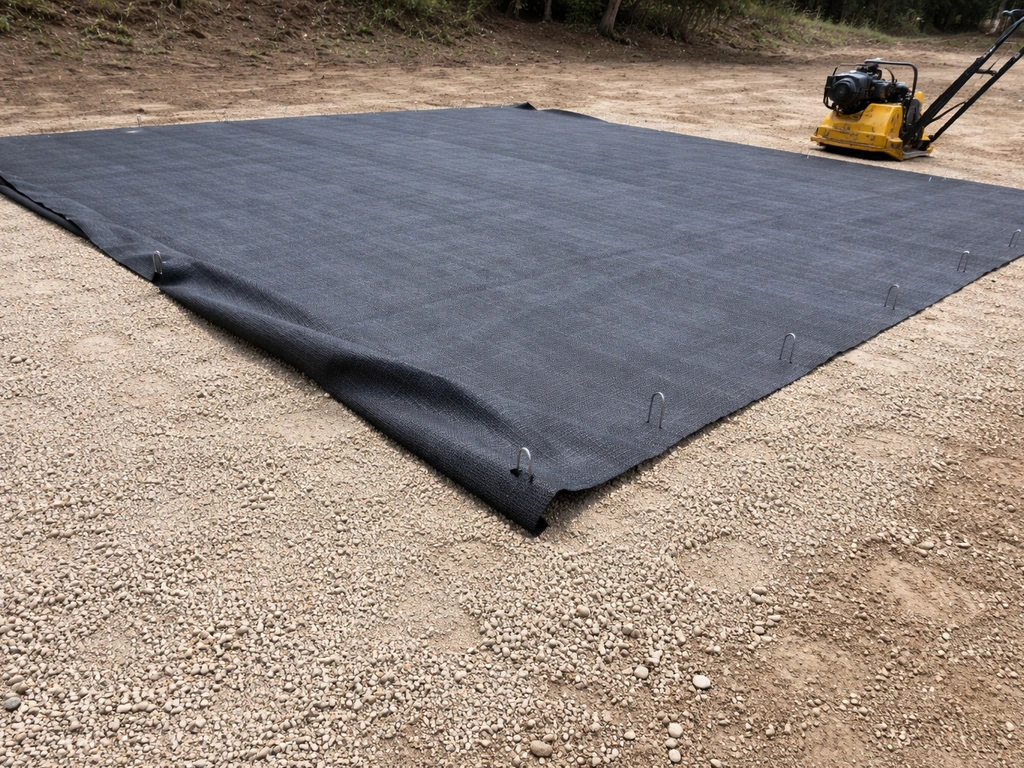
Excavate to about 100mm (4 inches) below finished turf height. The turf itself should sit approximately 25–30mm (around 1 inch) below surrounding hard edges like patio slabs or path edging. Fill with 2–3 inches of Class II road base or decomposed granite. Rake it level, then compact it with a plate compactor. Do at least two passes. The compacted base should feel rock solid underfoot, no spongy spots. Lightly water the base before your final compaction pass to help it bind. After compaction, lay a blank" rel="noopener noreferrer">woven geotextile weed barrier over the top, secured with U-pins at the edges. Then add a thin (10–15mm) layer of sharp sand for final leveling, screed it flat, and compact again lightly. Check drainage fall throughout this process with a long level, targeting that 1 to 2 percent slope toward a run-off point.
Installing directly over existing hard surface
Once you've confirmed slope and patched any damage, install a permeable drainage mat or foam shock pad directly on the clean slab. This layer improves drainage sideways across the surface, adds underfoot cushioning, and helps water find its way out at the edges. Use urethane adhesive to bond the mat to the slab if needed, especially on sloped surfaces where it might shift. The turf then goes over the top of this layer.
Weed/ground barrier, edging, and securing the turf
Weed barrier
On a bare-ground base, the woven geotextile weed barrier goes between the compacted aggregate and the turf (or sand layer if you're using one). Don't use cheap polythene sheeting here. It doesn't breathe, it kills drainage, and weeds will eventually push through the edges anyway. A woven geotextile lets water pass while blocking root growth. On a concrete slab, a weed barrier isn't needed since there's nothing growing through solid concrete.
Edging
Edging is what keeps turf from creeping, lifting at the corners, and looking ragged over time. Use aluminium bender board or pressure-treated timber edging nailed into the base or secured with long stakes. Run edging around the entire perimeter of the turf area, including along any patio borders where the turf meets hard surface. The edging should sit at the right height so the finished turf surface lands at or just below the surrounding hard edges.
Securing the turf
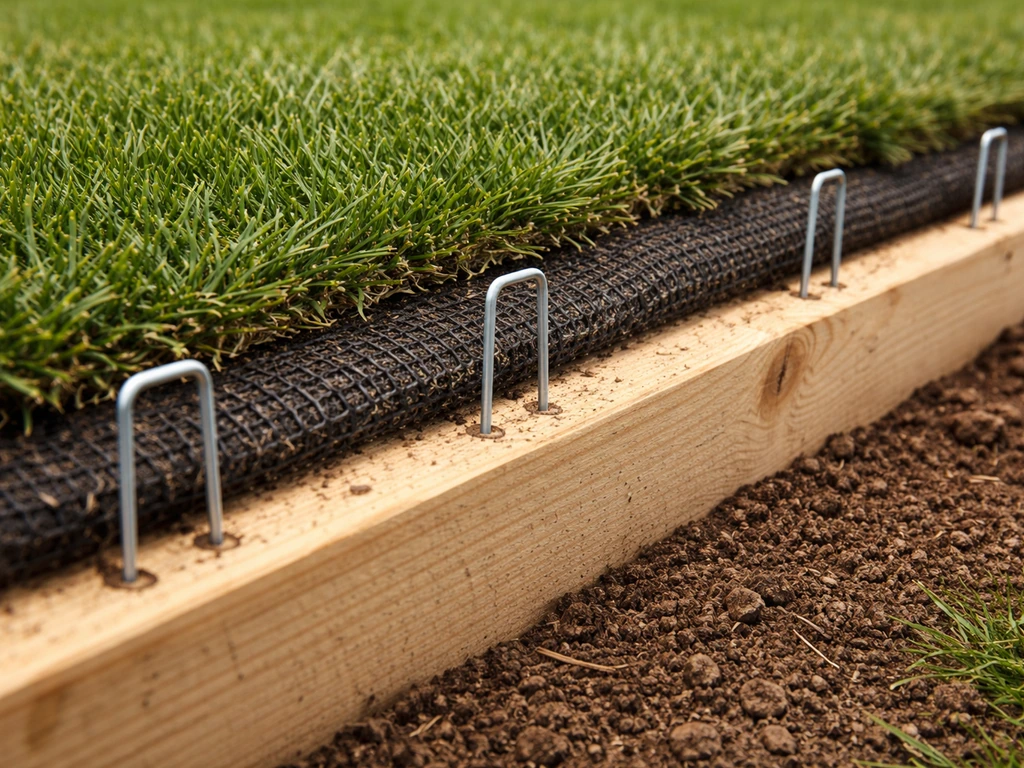
On a base installation, use galvanised nails or anchor pins around the perimeter, spacing them every 150–200mm (6–8 inches). Nail through the turf backing into the edging or directly into the compacted base along the outer edge. Don't nail through the pile area or you'll see nail heads. On a concrete or paver surface, use turf adhesive applied to the perimeter edge (and the drainage mat beneath) to bond the turf down. A useful rule of thumb: nails or staples provide short-term hold while you work, but the adhesive provides long-term permanent hold. Use both.
Cutting, seams, and fitting around patio edges and obstacles
Rolling out and planning cuts
Roll the turf out on a sunny day and leave it in the sun for 1–2 hours before cutting or fixing. This relaxes the backing and makes it much easier to work with. When you unroll it, make sure all pieces have the pile (grass blades) facing the same direction, ideally toward the main viewing point. Never install two pieces with pile running in opposite directions. The difference in how light catches the blades will make the seam visible even if it's perfectly cut.
Cutting cleanly
Always cut from the backing side, not through the grass side. Flip the turf over, mark your cut line on the backing with a chalk line or marker, and cut with a sharp utility knife along the backing rows. This gives a clean cut without shredding the pile at the edge. Change blades often. A blunt blade drags and tears, and you'll end up with a ragged edge that shows at every seam. When trimming around obstacles like posts, drain covers, or walls, make a paper template first and test the fit before cutting the real turf.
Joining seams
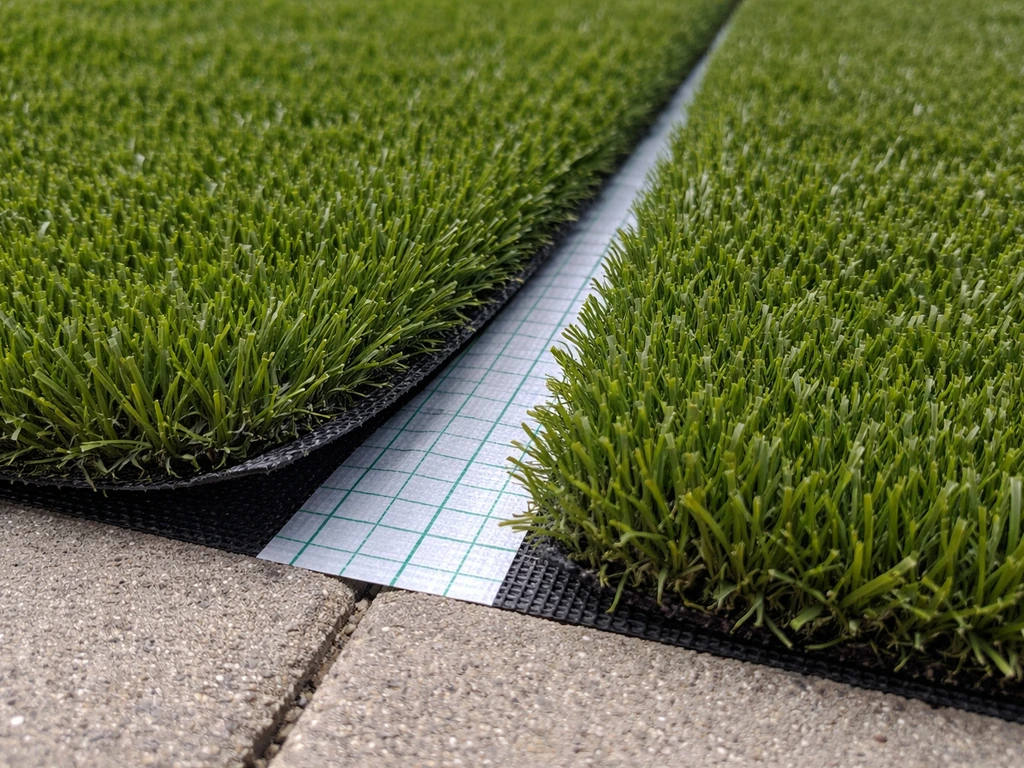
Lay seaming tape (turf-specific double-sided adhesive tape) centrally under the join, centred exactly where the two edges will meet. Leave a gap of about 2–3mm between the two turf edges before pressing down. This small gap prevents the edges from bunching up and creates a neater finish than butting them tightly together. Apply turf adhesive to the tape, press both edges down simultaneously, and push the pile outward from the seam with your fingers so the blades hide the join line. Roll the seam with a hand roller and don't walk on it for a couple of hours. Avoid seaming in very hot weather if you can. Heat makes urethane adhesive cure too quickly, which leaves you no time to adjust alignment before it sets.
Never overlap seam edges. Overlapping creates a raised ridge that's obvious and impossible to fix without re-cutting. If your seam is going to be in a high-traffic area, run it parallel to the main traffic direction rather than across it. That way foot traffic doesn't pull the edges apart over time.
Finishing steps and after-install maintenance
Infill and brushing
Once the turf is laid, secured, and seamed, spread your infill material (if using one) evenly across the surface using a drop spreader or by hand. A typical rate is around 1–2kg per square metre, but check your specific product's guidance. After spreading, use a stiff-bristle brush or power broom to work the infill down into the pile and stand the fibres upright. This step transforms flat-looking turf into something that actually looks like grass. Brush in multiple directions. Then give the whole area a light rinse with a hose to settle the infill and check that water drains away cleanly, no pooling. If you see pooling, trace it back to the drainage mat layer or the original slope and address it before calling the job done.
Ongoing maintenance
- Brush the turf monthly (or after heavy use) to keep fibres upright and stop matting
- Rinse with a hose periodically to clear dust, pollen, and light debris
- For pet areas, rinse more frequently and consider an enzyme-based cleaner for odour control
- Remove leaves and organic debris before they break down and create a growing medium for weeds at the edges
- Check perimeter edging every season and re-nail any sections that have lifted
- Inspect seams annually, especially after hard winters, and re-glue any lifting edges early before they worsen
- Top up infill if it migrates or thins out, particularly in high-traffic zones
Troubleshooting common problems
Bubbling or wrinkling is almost always caused by one of three things: the turf wasn't given time to relax before laying, the base isn't flat, or water is trapped underneath and has nowhere to go. For minor wrinkling on a hard surface, try pulling back the affected section, checking the drainage mat for pooled water, and re-laying with the adhesive applied more thoroughly at the edges. For wrinkling on a base installation, the cause is often inadequate compaction creating soft spots. You'll need to lift the turf, re-compact, and re-lay.
Visible seams after the job is done usually come down to pile direction being inconsistent, edges that were cut too roughly, or the gap between edges being too wide or too narrow. If a seam is lifting, re-glue it with fresh turf adhesive pressed firmly and weighted overnight. If the seam is visible because of pile direction, there's unfortunately no easy fix without re-cutting one panel. That's why it's worth getting the pile direction right before you nail anything down.
Pooling water after installation means either the original slope wasn't sufficient or the drainage mat isn't moving water to an outlet. If you’re laying interlocking patio tiles directly over the turf or adjacent to it, match the tile layout to your finished turf height and make sure the underlying base still slopes to drain interlocking patio tiles on grass. Check whether the perimeter edging is creating a dam by sitting too high. Trimming or lowering one section of edging to create a run-off point often solves patio ponding quickly.
When to call in help
Most single-patio installs are genuinely within DIY reach if you're comfortable with basic groundworks. Where it gets more complex is on large areas over 50 square metres, sites with significant slope changes, or installations that need to join smoothly to existing raised patio levels or drainage infrastructure. If your slab has serious movement or is cracked in ways that suggest subgrade failure underneath, fixing that properly before installing turf is a job for a groundworks contractor. The turf itself won't mask a moving base for long. Related surface-covering projects like installing fake grass on a patio, rubber patio tiles, or interlocking tiles over different substrates follow similar preparation principles, so experience with one makes the others more intuitive.
FAQ
Can I install turf on a patio if the concrete already has old coatings or paint?
You should remove anything that blocks bonding or water movement, like sealers, glossy coatings, loose paint, and dirt-laden residue. If you can’t fully degrease and etch, bond-down methods can fail and water can stay trapped under the mat. After cleaning, do another short hose test to confirm water actually drains where you expect before laying any underlayer.
Do I need a weed barrier if I’m laying turf over concrete or pavers?
Usually no for solid concrete, since weeds cannot root through it. For pavers, the focus is gaps and movement, not weed fabric. Use the correct base and edging, and make sure joints are re-bedded and filled so the seam area does not sink and expose openings over time.
What underlayment should I use for better drainage on a slightly sloped patio?
For patios, a permeable drainage mat helps move water sideways toward the edges. If the mat can shift on a slope, use urethane adhesive to tack the mat down so it stays aligned to the drainage fall you measured. Then recheck the 1 to 2 percent slope after the mat is in place, not just before.
Is it okay to install turf directly on top of existing patio tiles or pavers?
Only if the surface is stable, level enough, and all movement is corrected. If tiles rock, or paver joints are deep and uncompacted, the turf will telegraph the texture and seams can lift. In most cases you should either prep and re-bed the pavers properly first, or consider building the turf base over the hardscape after confirming drainage.
How do I stop turf edges from lifting near doorways, grill areas, or furniture legs?
Use perimeter edging at the correct height so the finished turf sits at or just below the surrounding hard edge, then secure it with both temporary mechanical hold (nails or anchor pins) and long-term bonding (adhesive on perimeter for slab/paver installs). In areas with heavy loads, check that you didn’t leave gaps between turf and edging, since that is where edge lifting typically starts.
Should I use infill on a patio turf installation?
Often yes, especially on higher-traffic patio placements, because it supports blades and helps them look upright. For pet areas, choose flow-friendly infill options, like zeolite or antimicrobial coated sand. If your turf product is “no infill required,” follow the label, but still brush and rinse to confirm drainage is not being blocked by excessive or incorrectly spread infill.
Can I install turf over damp concrete?
Not ideal. Moisture and residual wash-down water can interfere with adhesive bonding and can increase the risk of trapped water under the mat. Let the slab dry fully after cleaning and pressure washing, then do a hose test again. If water sits during the test, fix slope or drainage routing before you proceed.
What causes bubbles or wrinkles after installation, and how fast should I fix them?
Bubbles and wrinkles usually come from the turf not relaxing, the base not being flat, or trapped water with no outlet. If it’s minor, lift and re-lay that section after checking the mat for pooling, then reapply adhesive at the edges more thoroughly. If it’s widespread or recurring, it indicates soft spots or drainage issues, and you should re-compact or rebuild the affected area sooner rather than later.
How do I handle seams to keep them from showing, especially on sunny patios?
Make sure every roll is oriented with the blades facing the same direction, ideally toward the main viewing point. When joining panels, leave a small controlled gap between edges and center the seaming tape. Avoid installing seams in a way that runs across heavy foot traffic, since pulling forces can separate edges even when the cut is perfect.
What’s the correct way to cut turf around posts, drain covers, or walls?
Use a paper template first and test the fit before cutting the real turf. Cut from the backing side for cleaner edges, and plan the perimeter so edging supports the cut line. This prevents ragged trimming that can pull back at the join and reveal seam lines.
How much fall do I need to avoid ponding on a patio?
A common target is about 1 percent to 2 percent, roughly 1/8 inch per foot (10 mm per metre) for quick reference. Measure with a long level, and repeat the test after underlayment or sand leveling steps. If you see any pooling, consider a run-off outlet plan like a drainage channel or adjusting edge height before the turf is laid.
What should I do if my turf poolings return after a heavy rain?
Re-run the drainage hose test at the exact spots where you see pooling, then inspect whether the underlayer is moving water to an outlet. If pooling persists, the issue is usually either insufficient slope in that localized area, a mat that isn’t directing water to the edges, or an edging/perimeter setup that is acting like a dam. Fix the drainage path before attempting to patch the turf.
Is DIY turf installation on larger patio areas still realistic?
DIY is more straightforward for small, simple layouts, but it becomes tougher when you exceed roughly 50 square metres, have major level changes, or need transitions to existing raised patio levels and drainage infrastructure. If your concrete shows signs of significant movement or subgrade failure, the turf will not correct the root problem, and a groundworks contractor is the safer path.