Yes, you can lay a patio without a sub base, but only in the right conditions and only if you compensate with solid ground prep and the correct bedding layer. On firm, stable, well-drained ground with light foot traffic and a small area, skipping the hardcore sub base is a realistic option. On soft, waterlogged, or frost-prone ground, skipping it is a recipe for a sunken, rocking, weed-infested mess within a couple of years. This guide walks you through exactly how to do it properly, what to use instead of a sub base, and how to spot when you genuinely need to bite the bullet and dig one in.
How to Lay a Patio Without Sub Base: Step-by-Step DIY

Clara Farrell
9 Jun 2026
Can you actually skip the sub base? (Honestly, it depends)
The sub base, typically 100mm or more of compacted MOT Type 1 crushed stone, exists to spread load, prevent settlement, and stop frost from heaving the ground up under your paving. It is not always strictly necessary, but the conditions where you can genuinely leave it out are more specific than most guides admit.
You can reasonably skip a sub base when all of the following apply: the ground is already firm and stable (think dense, compacted clay or stony soil that does not move when you dig into it), the area is small (a compact seating area rather than a large terrace), usage is light pedestrian only (garden chairs and foot traffic, not wheelbarrows or vehicles), drainage is naturally good or you can create adequate falls, and your local climate is mild enough that hard frost penetrating deep into the ground is not a regular occurrence.
You should not skip the sub base when the ground is soft or spongy, when you have sandy or silty soil that shifts easily, when the area sits low and collects water, when frost regularly penetrates the ground in winter, or when you are laying block paving, which nearly always needs a proper sub base to prevent differential settlement under repeated foot traffic. Large-format slabs on soft ground without sub base will crack or sink. If any of these red flags apply to your site, the rest of this guide still gives you useful preparation advice, but the honest answer is that laying a full sub base is your safest path.
Ground preparation when there is no sub base
Without a sub base to make up for ground imperfections, your soil surface has to do much more of the heavy lifting. Getting this right is the single most important part of the whole job. Rushed ground prep is where most DIY patios without sub base go wrong, and there is no fixing it cheaply once the slabs are down.
Clear the area and set your depth
Start by clearing all turf, roots, and organic material. If you are wondering how to dig up lawn for a patio, start by removing the turf cleanly and getting down to the right excavation depth before you compact the soil. Organic matter decomposes and compresses over time, causing sinking, so any trace of it under your patio is a problem. Once cleared, you need to decide on your dig depth. If you are planning slab thickness, excavating to the right depth is where the rest of the patio base preparation starts how to prepare ground for patio slabs. Without a sub base, you are removing material to accommodate only your bedding layer and the slab or paver thickness. Without a sub base to make up for ground imperfections, you are removing material to accommodate only your bedding layer and the slab or paver thickness, so see how to flatten ground for patio for the right way to get your levels consistent before you start. A typical concrete patio slab is 40-50mm thick. Add approximately 30-50mm for your bedding layer (more on this below) and you are looking at roughly 70-100mm of total excavation depth from your finished level. Mark that clearly with pegs and string lines before you dig a single spade.
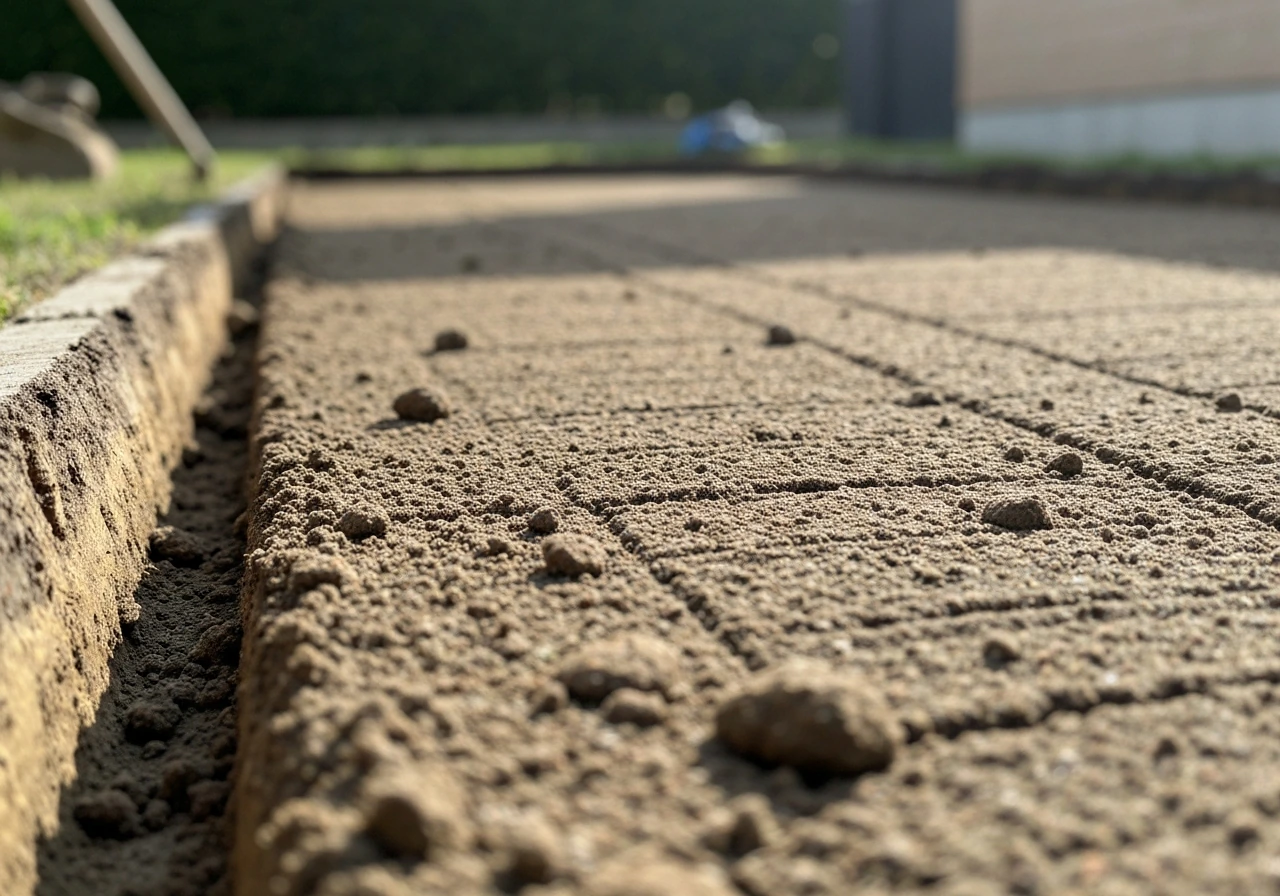
Compact the subgrade properly
Once you have excavated to depth, compact the exposed soil surface thoroughly. If you have a plate compactor, use it. If you are working a small area, a hand tamper will do, but put real effort in. The goal is a surface that does not deform when you press a heel firmly into it. If it does deform, you have a problem that no bedding layer will fix. Compact in passes until you see no further visible consolidation happening, which is the practical quality-control rule: stop when the ground stops moving.
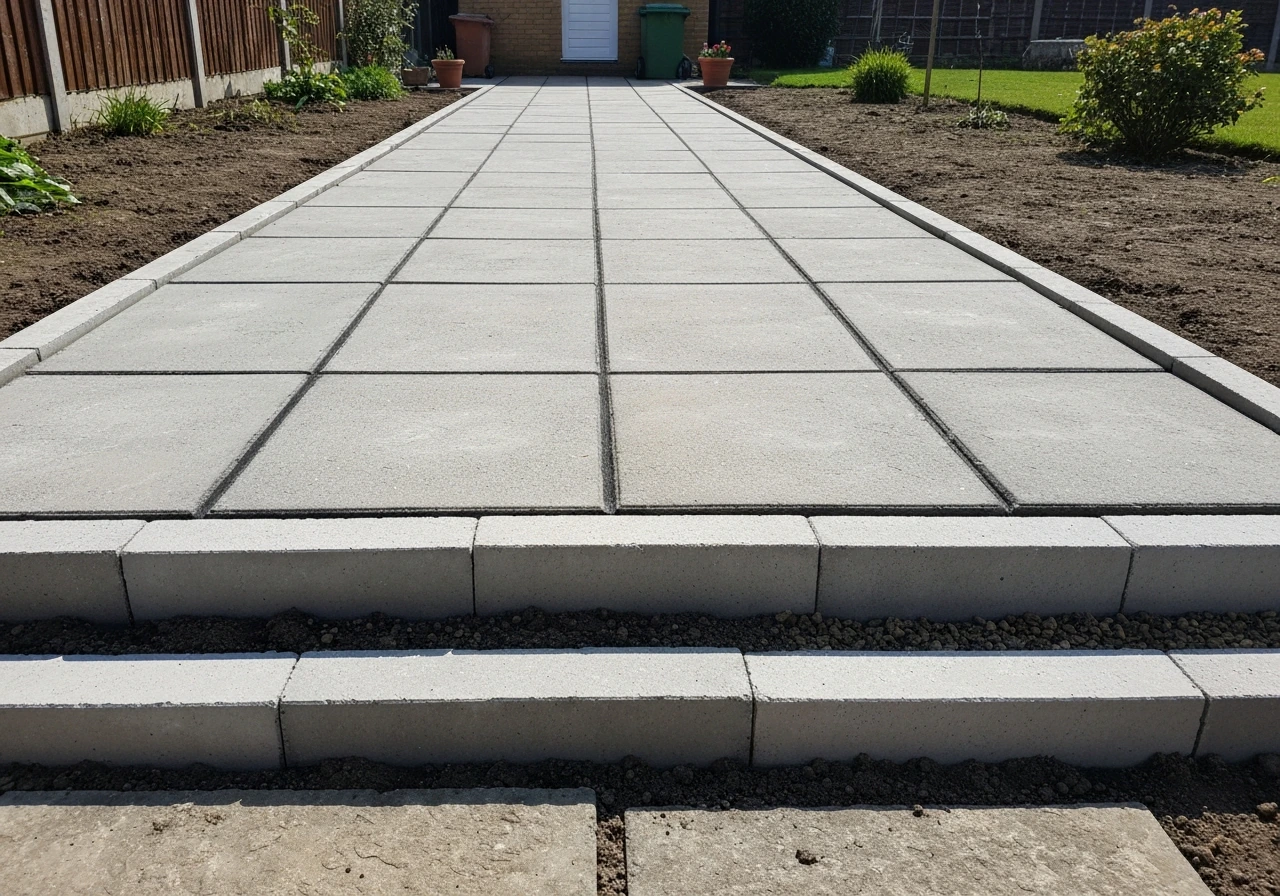
Edge restraints
Edge restraints are non-negotiable without a sub base. Without the rigid frame that a properly built sub base and haunched kerb provide, paving on a sand or mortar bed will migrate outward over time, especially at the edges. Use haunched concrete or solid edging on at least two sides, set on a concrete bed before you lay anything else. This step alone prevents a huge amount of lateral movement.
Weed control membrane
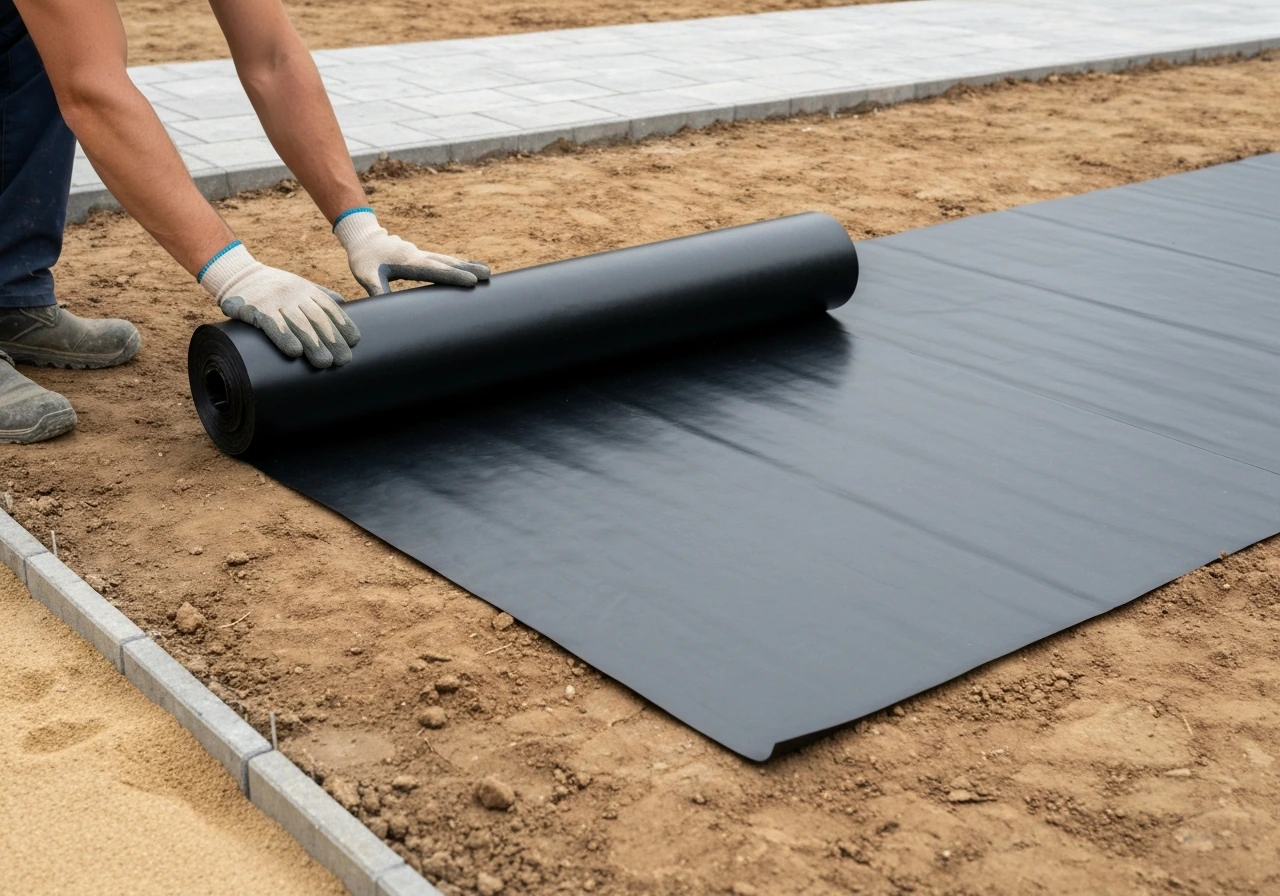
Lay a weed suppression membrane directly on the compacted subgrade before your bedding layer goes down. This serves two purposes: it stops weeds pushing up through joints, and it acts as a basic separation layer, reducing the risk of fine soil particles migrating upward into your bedding and causing voids. The membrane should sit between the bare earth and your bedding material, not on top of the bedding. Overlap any joins by at least 300mm and tuck the edges up against your edge restraints.
Which patio materials work without a sub base (and which do not)
The material you choose dramatically affects whether going sub-base-free is sensible. Not all paving is equal here, and choosing the wrong surface type for this approach will cause problems regardless of how well you prep the ground.
| Material | Sub Base Free Possible? | Notes |
|---|---|---|
| Concrete patio slabs (standard) | Yes, on stable firm ground | Unbound on 30mm compacted sharp sand is a recognised method for light use |
| Natural stone flags (small format, up to 450x450mm) | Sometimes | Small flags with chamfered edges on unbound bedding can work; larger flags need mortar bed or sub base |
| Large format porcelain/stone (600mm+) | Rarely advisable | Size and weight demand a more stable base; movement causes cracking |
| Concrete block paving | Not recommended | Blocks need a proper compacted sub base to handle repeated traffic without settlement |
| Pattern imprinted concrete | Sometimes | May not require a separate sub base if the concrete slab itself is appropriately designed |
| Gravel or self-binding gravel | Yes | Flexible surface tolerates ground movement; easier to manage without a rigid sub base |
If you are laying standard concrete patio slabs on firm, well-drained ground for a small seating area, you are in the most forgiving category for this approach. If you are eyeing porcelain tiles or large natural stone, you are taking on considerably more risk without a proper base. Block paving is the one type you should almost never attempt without a sub base, as the small individual units are highly sensitive to differential settlement.
What to use instead of a sub base
Skipping the sub base does not mean skipping the bedding layer. You still need a prepared, stable layer between the compacted subgrade and your slabs. The key question is what material and how thick.
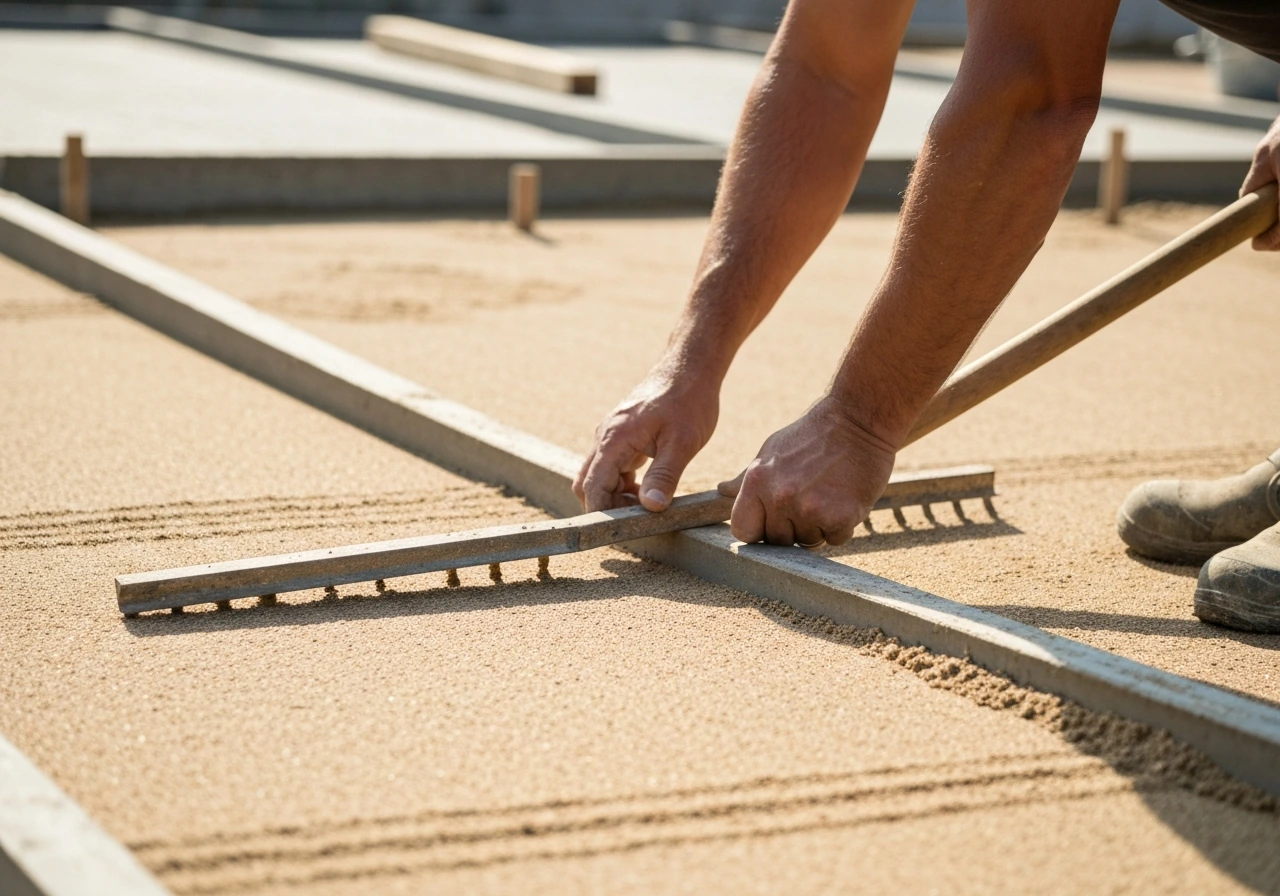
Sharp sand (unbound method)
For concrete slabs on firm ground, a compacted bed of sharp sand at approximately 30mm after final compaction is the recognised unbound method. This is different from soft building sand, which holds too much water and compresses unevenly. Sharp sand, also called coarse grit sand, drains better and compacts to a firmer surface. Screed it to a consistent depth using screed rails, then compact it before laying. The key phrase is 'after final compaction,' meaning you lay more than 30mm initially, compact it, and check you have 30mm remaining. Do not use the sand layer to correct for uneven subgrade as it creates differential thickness and causes slabs to rock.
Mortar bed (bound method)
A full mortar bed, typically a semi-dry mix of four parts sharp sand to one part cement at 30-50mm depth, gives a more stable result than sharp sand alone and is generally better for preventing rocking and long-term movement. This is the preferred bedding method for natural stone and larger concrete slabs even without a sub base. Avoid dot-and-dab mortar (blobs at the corners and centre only) for the no-sub-base scenario, as it creates hollow points under the slab that rock under foot traffic and are prone to cracking on an already unsupported ground. A full mortar bed distributes load more evenly.
Thickness summary
- Sharp sand (unbound): 30mm after compaction, suitable for concrete slabs on firm stable ground
- Full mortar bed (bound): 30-50mm, better for natural stone, larger slabs, and any situation where stability is a concern
- Do not exceed 50mm bedding without a sub base underneath, as deep uncompacted bedding creates a soft, unstable layer that defeats the purpose
Drainage, falls, and preventing frost heave
Without a sub base to help channel water away, drainage planning becomes even more critical. A patio with no sub base sitting in a puddle will fail much faster because the saturated ground underneath will shift, and in freezing temperatures, that water becomes ice that physically lifts your paving.
Getting the falls right
Every patio needs a fall, meaning a slight slope away from the house, of at least 1:60 (roughly 16mm for every metre of patio width). Set this with your string lines before you lay a single slab. Check it constantly as you go with a spirit level and a straight edge. Slabs that look level to the eye are often not accurate enough, and even a small low spot will collect water that eventually undermines the bedding beneath.
Frost heave: the hidden risk
Frost heave happens when water in the soil below your paving freezes and expands, pushing slabs upward. SAPCA’s Code of Practice explains that frost heave is driven by frost penetration into frost-susceptible sub-soils and that water uptake occurs into the freezing zone via pore and capillary mechanisms frost heave happens when water in the soil below your paving freezes and expands. The governing factor is not just cold temperatures, it is the availability of water in the soil. A patio on well-drained, dry ground in a mild climate has very low frost heave risk. A patio on silty or fine-grained soil with poor drainage in a cold climate is extremely vulnerable. Without the drainage buffer that a proper sub base provides, you are more exposed to this risk. The practical defence is twofold: get drainage falls right so water does not pool on or around the patio, and ensure your site drains freely so water does not sit in the soil underneath. If your ground is silty, fine, or regularly waterlogged in winter, seriously reconsider whether to skip the sub base.
Weed prevention at the joint level
Even with a membrane below, weeds find joints. Once your slabs are laid, fill joints with a polymeric jointing sand or mortar. Holcim’s concrete paving technical data sheet (Charcon Andover) specifies jointing mortar and bedding to BS 7533-type requirements, including guidance on laying on prepared bedding and typical course thicknesses blank" rel="noopener noreferrer">polymeric jointing sand or mortar. Polymeric products brush into joints, activate with water, and set semi-rigid, which blocks weed germination and resists washout. Use a product that fills the full depth of the joint, not just the surface, and follow the manufacturer's minimum joint width requirements, typically at least 3mm, to ensure proper adhesion and bonding.
Step-by-step: how to lay a patio without a sub base
This workflow assumes firm, stable ground, a small to medium seating area, and concrete patio slabs as the material. Adjust bedding type as described above for other materials.
- Mark out the area with pegs and string lines. Measure twice. Account for your drainage fall of at least 1:60 away from the house from the start, built into your string lines.
- Excavate to the correct depth: slab thickness plus bedding depth plus roughly 10mm allowance. For a 50mm slab on a 30mm sand bed, you are digging approximately 90mm down from your finished paving level.
- Remove all turf, roots, and organic material completely. Do not leave any soft spots.
- Compact the subgrade with a plate compactor or hand tamper until no further consolidation is visible. If the ground is uneven, compact high spots down rather than trying to fill low spots with bedding sand.
- Lay your weed suppression membrane over the compacted subgrade, overlapping joins by 300mm and tucking edges against the excavation sides.
- Install your edge restraints on at least two sides, set on a concrete haunch. Let these cure before proceeding.
- Lay your bedding material. For sharp sand, screed to approximately 40mm (it will compact down to 30mm). For a mortar bed, mix to a semi-dry consistency and lay to 40-50mm depth. Use screed rails to achieve a consistent, even depth.
- Compact the sharp sand with a plate compactor (or tamp the mortar bed firmly) and check you have consistent depth. Re-screed any low spots. This is not the stage to hide uneven ground.
- Lay slabs from one corner outward. Butt slabs to your string lines and use spacers to maintain consistent joint widths of at least 3mm. On a mortar bed, press each slab firmly down and check level with a straight edge. On sand, tap down with a rubber mallet.
- Check every slab is correctly positioned before moving on. Tap down proud slabs gently. Do not rock or lever slabs once placed as this disturbs the bedding beneath.
- Cut any edge slabs with an angle grinder or slab splitter to fit. Always cut dry and use appropriate PPE.
- Once all slabs are laid, allow a mortar bed to cure for at least 24 hours before walking on it. For sand-bedded slabs, you can carefully walk on them straight away.
- Fill all joints with polymeric jointing sand or mortar. Brush in, compact the product into the joint, remove excess, and activate with water per the manufacturer's instructions.
- Compact the whole surface with a plate compactor fitted with a rubber mat to protect slab faces (sand-bedded slabs only). Mortar-bedded slabs should not be vibration-compacted after laying.
- Check the fall across the finished surface with a spirit level and straight edge. Address any high spots by lifting the slab and adjusting the bedding before the joints cure.
Common mistakes and how to avoid them
Most failed no-sub-base patios come down to a handful of very avoidable errors. Here is what goes wrong and what to do about it.
- Using the bedding layer to correct an uneven subgrade: this creates varying bedding thickness, which means some slabs have 20mm under them and others have 50mm. Those slabs will move independently and rock. Fix the subgrade level before you bed anything.
- Using soft building sand instead of sharp sand: building sand holds moisture, compresses, and washes out. Always use sharp or grit sand for bedding.
- Skipping edge restraints: paving without a rigid edge will creep outward over time. Set haunched edging before you start laying.
- Laying in or before freezing weather: unbound sand bedding can freeze solid before it compacts correctly, and a frozen subgrade gives you false working levels that shift when it thaws. Wait for a frost-free spell.
- Dot-and-dab mortar bedding on unsupported ground: hollow points under slabs crack and rock. Always use a full mortar bed if you are going bondless bedding on soft ground.
- No drainage fall: even a tiny low spot becomes a puddle that undermines the bedding. Set falls in your string lines before you dig and check them constantly.
- Ignoring joints: unfilled joints let in water, weeds, and ants. Fill properly with a polymeric product and ensure it penetrates the full joint depth.
When to stop and use a proper sub base
There is a point where trying to save time by skipping the sub base just creates more work and expense later. Stop and lay a proper sub base if you find any of the following: the subgrade is soft, spongy, or shows signs of recent fill; you hit areas with soft patches between firm ones (differential settlement is worse than consistent soft ground); your ground holds water or drains very slowly; you are covering an area larger than about 15-20 square metres; you want to lay block paving or large-format porcelain; or your site is in a region with regularly hard frosts. A 100mm layer of compacted MOT Type 1 is not glamorous, but it is the difference between a patio that lasts 20 years and one that is embarrassing by year three. Preparing the ground properly is always the foundation of a successful patio, and sometimes that preparation genuinely does need a sub base.
Tools and materials checklist
- Measuring tape, pegs, and builder's string line
- Spirit level and long straight edge
- Spade and wheelbarrow for excavation
- Plate compactor (hire one) or hand tamper for small areas
- Sharp/coarse grit sand or semi-dry mortar mix (4: 1 sharp sand to cement)
- Weed suppression membrane
- Edge restraint materials and concrete for haunching
- Patio slabs of your chosen type
- Rubber mallet
- Slab spacers
- Angle grinder with diamond blade or slab splitter for cuts
- Polymeric jointing sand or mortar
- Soft brush for jointing
- Rubber mat for plate compactor (if compacting after laying)
FAQ
Can I skip a sub base if my patio area was previously disturbed or filled in?
Yes, but only if the “new” soil is genuinely solid and consistent. If the area was backfilled, compacted fill often stays slightly compressible, so you can end up with settlement differentials. A simple check is to dig small test pits, confirm there are no soft spots or spongy layers beneath the planned excavation depth, and recompact after any disturbance before you lay the membrane and bedding.
What if the soil is slightly uneven after excavation, can I fix it with thicker sand or mortar?
Not reliably. If the ground is not perfectly even after excavation and compaction, a bedding layer should not be used to “float” the slabs to level. Sharp sand should be approximately 30mm after compaction, and full mortar beds are still a uniform thickness approach. For no-sub-base patios, any remaining unevenness should be corrected by further excavation and re-leveling the subgrade, not by varying bedding thickness.
Will weed membrane alone prevent weeds without a sub base?
You still need a jointing strategy. Even with a membrane and careful bedding, polymeric jointing sand is what helps prevent weeds and reduces joint erosion. Also keep an eye on joint width, since many polymeric products require a minimum joint depth and width (often 3mm or more) to bond properly, otherwise joints can wash out and slabs can move.
Can I lay a patio without a sub base in rainy or wet weather?
You can, but only on small areas and only with very firm base conditions. Wet-season installation is risky because saturated soil compresses when you compact it, and later drying can create voids under the bedding. If you must proceed, avoid any subgrade that feels damp or pumpable, compact only when the soil can be kneaded without breaking down, and consider delaying until it dries.
Should I seal the patio to protect it, and will that reduce frost problems?
Sealing helps with stain resistance, but it does not replace proper drainage. In a no-sub-base build, trapped moisture underneath is the bigger threat than surface water, because saturation can lead to movement and frost heave. If you seal, ensure the patio still has the required fall away from the house, and keep any downpipe outlets and edge drainage paths clear.
How does patio use (like wheelbarrows or moving furniture often) affect whether I can skip a sub base?
No-sub-base can work with light use, but check your paving design load. Garden patios are one thing, but repeated dynamic loading, especially with wheelbarrows or carts, tends to expose any subgrade weaknesses. If you anticipate carrying loads frequently, treat it like “heavy foot traffic,” meaning you should compact more aggressively, consider a full mortar bed, and seriously reconsider adding a sub base.
Do I need extra expansion joints when I lay a patio without a sub base?
Expansion and movement joints become more important when you do not have a thick load-spreading layer below. Your perimeter edging and any breaks between paved and fixed elements (steps, walls, gates, house walls) should allow controlled movement rather than forcing paving to grind against rigid surfaces. Use edging designed to contain movement and consider a proper joint where the patio meets other structures.
How can I tell if my drainage will be good enough for a no-sub-base patio?
A common failure point is drainage at the edges and around low spots. If water can run toward the patio or collect at the perimeter, it will saturate the soil below your bedding and undermine stability. Make sure the required fall is achieved, check levels repeatedly with a straight edge, and ensure any existing ground that slopes toward the patio is corrected or diverted before laying.
Can I use the weed membrane underneath the patio in any orientation, or does placement matter?
Yes, you can use it, but it must still sit between bare earth and your bedding material. Do not place the membrane on top of the bedding, because then it will not act as the separation layer you need to reduce fines migration into the bedding. Also keep overlaps at least 300mm and tuck membrane up against proper edge restraints so water and fines do not bypass the barrier.
If my patio starts rocking later, what’s the realistic way to repair it?
If you see movement after the slabs are down, the fix is usually not “re-leveling the sand” because the voids are already created under the paving. The practical next step is to lift affected slabs, investigate the subgrade condition, and redo the compaction and bedding thickness correctly. If the area is holding water or has soft patches, that is a strong signal to install a proper sub base instead.
If I need to adjust after a few slabs are laid, is partial removal safe on a no-sub-base patio?
For lifting and rework, yes, but keep in mind some pavers and slabs can chip if removed improperly. Start by removing jointing sand thoroughly, lift slabs carefully from edges, and inspect for voids or hollow spots in the bedding. The “no-sub-base” approach is sensitive to partial rework, so if the original subgrade was not uniformly firm, you should excavate back to the compacted layer and rebuild rather than patching.