Tiling an outside patio is absolutely a DIY project you can tackle, but it punishes shortcuts more than almost any other home improvement job. Get the slope wrong and water pools under your tiles. Skip the right membrane and freeze-thaw cycles crack your work apart by winter. Use indoor tile or the wrong thinset and the whole thing lifts within a year. Do it right, though, and you end up with a patio that looks sharp, handles weather beautifully, and lasts decades. This guide walks you through the entire process, from picking materials to the final seal coat, so you know exactly what to do and in what order. If you follow this end-to-end approach, you will learn how to tile a patio step by step without skipping the critical exterior details entire process. If you follow this workflow, you will learn how to lay patio tiles step by step without skipping the key prep and setting details. If you follow the steps in this guide, you will have a clear roadmap for how to install patio tiles the right way.
How to Tile Outside Patio: Step-by-Step DIY Guide

Pick the right outdoor tile and setting materials
The single biggest mistake people make is buying tile that looks great in the store but was never designed for the outdoors. Outdoor tile has to survive rain, direct sun, hard freezes, and foot traffic while wet. That rules out most wall tiles, many decorative tiles, and anything with a high water absorption rate.
Choosing the right tile
Porcelain is your best all-around choice for an exterior patio. If you already know porcelain is the right exterior material, the next step is following a complete how to lay a porcelain tile patio workflow so your slope, membrane, and joints stay aligned. Under ANSI A137.1, porcelain tile is defined by water absorption of 0.5% or less, which is what makes it so resistant to moisture uptake and the freeze-thaw damage that comes with it. When water gets into a porous tile and then freezes, it expands and eventually breaks the tile from the inside. Porcelain almost eliminates that risk. Look for tiles that are also rated for slip resistance using the DCOF (Dynamic Coefficient of Friction) standard, ANSI A326.3. For a wet outdoor surface, you generally want a DCOF value of at least 0.42, and many manufacturers print this on the spec sheet or box. A textured, matte, or slightly rough surface finish is much safer underfoot when wet than a high-gloss finish.
Natural stone like slate or travertine can work outdoors if it is properly sealed and the stone itself is dense enough, but it requires more ongoing maintenance and is more vulnerable in freeze-thaw climates. If you are going the stone route, make sure it is rated for exterior use and honed or flamed rather than polished for traction. Quarry tile is another solid outdoor option, particularly in warmer climates.
| Tile Type | Water Absorption | Freeze-Thaw Resistance | Slip Resistance (typical finish) | Maintenance Level |
|---|---|---|---|---|
| Porcelain | ≤0.5% (ANSI A137.1) | Excellent | Good to excellent (textured) | Low |
| Natural Stone (slate, travertine) | Varies (1–5%+) | Fair to good (dense stone) | Good (honed/flamed) | High (requires sealing) |
| Quarry Tile | 0.5–3% | Good | Good (unglazed) | Low to medium |
| Glazed Ceramic | 3–7%+ | Poor to fair | Varies (often slippery) | Medium |
Setting materials: thinset and membranes
Do not use standard indoor thinset mortar outside. You need a polymer-modified, exterior-rated thinset that can handle the thermal movement and moisture exposure that outdoor settings create. The Tile Council of North America (TCNA) methods for exterior walkways (F101 and F102) specifically require exterior-rated mortars and emphasize achieving better than 95% mortar contact behind each tile. That level of coverage leaves no voids where water can collect and freeze.
If you are using a Schluter uncoupling membrane like DITRA, use a mortar that is compatible with that system, such as Schluter ALL-SET (a modified thinset made for Schluter membranes). For installations over KERDI waterproofing membrane, Schluter's guidance calls for unmodified thinset meeting ANSI A118.1 to bond tile directly to the membrane. LATICRETE systems (like HYDRO BAN Sheet Membrane) similarly require compatible LATICRETE thinsets with polymer fortification and seam tape at overlaps. Always match your membrane system to the manufacturer's specified mortar. Mixing products from different systems can void warranties and cause adhesion failures.
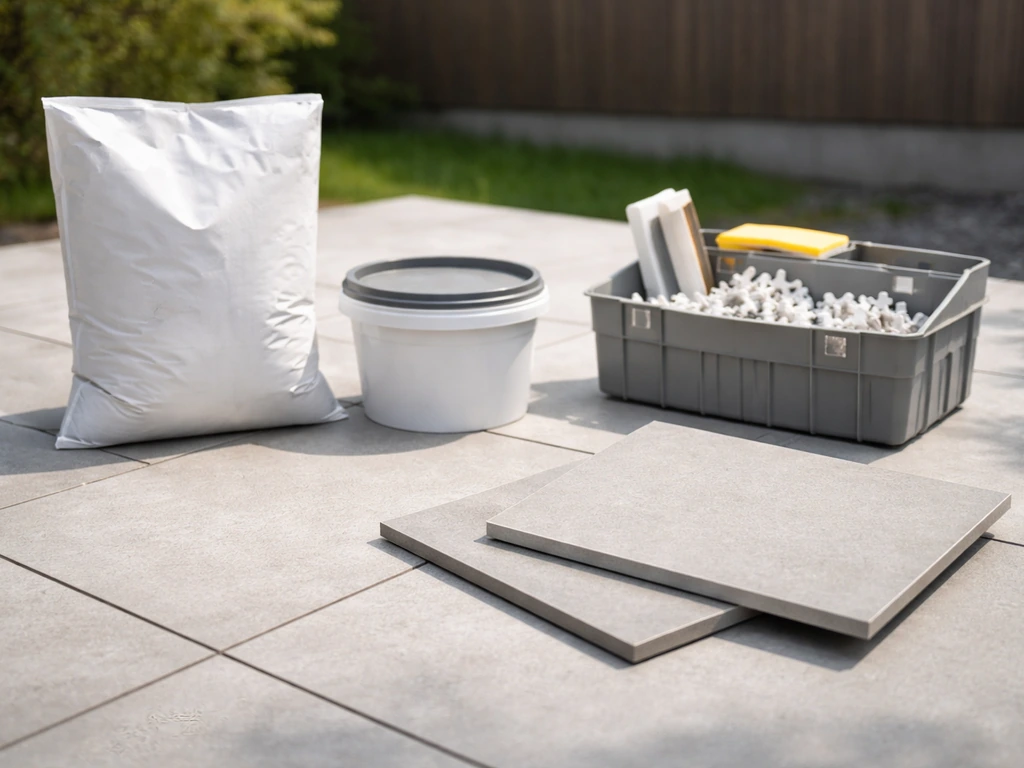
- Tile: outdoor-rated porcelain with DCOF ≥ 0.42 and water absorption ≤ 0.5%
- Thinset: polymer-modified, exterior-rated mortar (matched to your membrane system)
- Waterproofing membrane: Schluter DITRA, DITRA-DRAIN, KERDI, or LATICRETE HYDRO BAN sheet (choose based on your substrate)
- Grout: exterior-rated cementitious grout or epoxy grout
- Grout sealer: penetrating sealer for cement grout (not needed for epoxy grout)
- Movement joint profiles: pre-made profiles like Schluter DILEX or backer rod with caulk
- Seam tape and polymer-fortified thinset for membrane seams and transitions
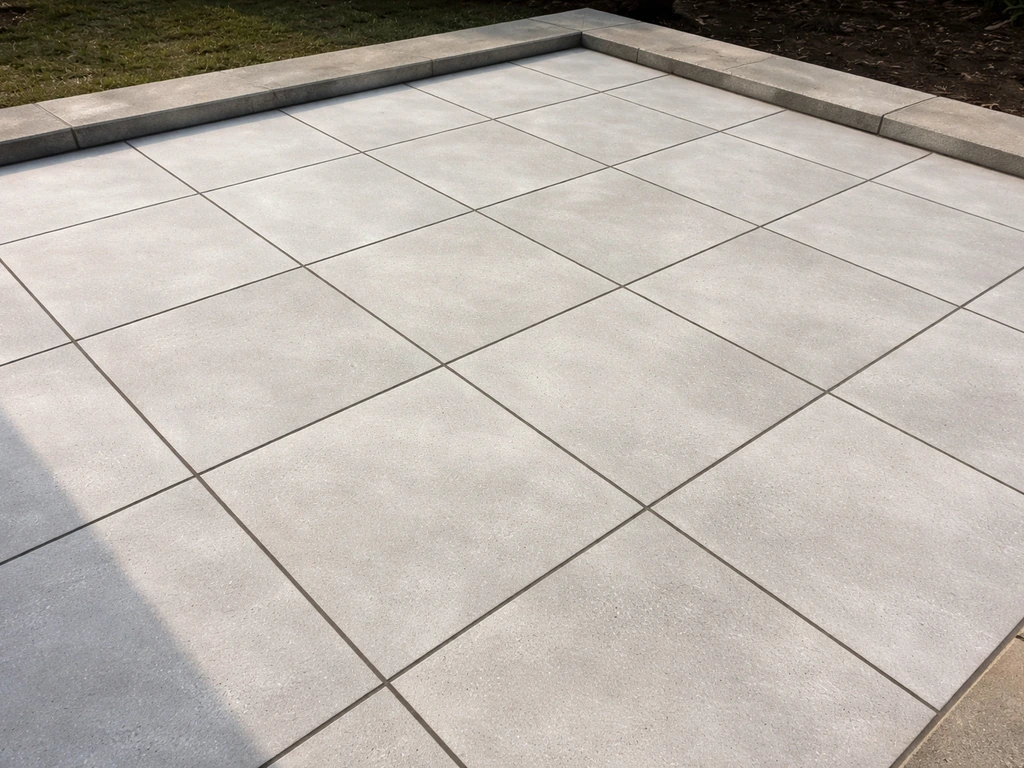
Plan the layout, slope, and drainage
Before a single tile goes down, you need to know exactly where the water is going. Standing water on an outdoor tiled patio will eventually destroy it, and it creates a slip hazard too. The standard residential guideline for exterior tile drainage is a slope of 1/4 inch per foot (roughly 2% grade) moving away from your house or any structure. Schluter's DITRA-DRAIN system, for example, lists a slope range of 1.5 to 2% as its working requirement, which aligns with that 1/4 inch per foot rule.
Measure your patio area and figure out the low point where water will exit. If you are building off a back door, slope the patio away from the foundation toward the yard or a drain. Check with a long level and a tape measure across your planned surface. If the existing slab or base does not have this slope built in, you will need to create it using a mortar bed or self-leveling compound during the prep stage. Do not assume your existing concrete already drains correctly. Many older slabs are flat or even slope toward the house.
Planning your tile layout
Lay out your tile pattern dry (no mortar) before you commit to anything. Find the center of the patio, snap chalk lines, and work out where your grout joints will land relative to the edges. You want to avoid tiny slivers of cut tile at visible borders. Adjust your starting point so that cut tiles at opposite edges are roughly equal in size. For a standard running bond or grid pattern, this is straightforward. For diagonal or more complex layouts, take extra time with the dry run because mistakes are expensive to undo once thinset is involved.
Also plan for movement joints during this stage (more on sizing and placement later). Mark on your layout where those joints will fall every 8 to 12 feet in each direction. These are not an afterthought. They need to align with your tile pattern and be part of the design from the start.
Prep the base for exterior tile
The base is everything in outdoor tiling. A beautiful tile job on a bad base will fail. Period. Your two most common starting points are bare ground (building from scratch) or an existing concrete slab. Each needs a different approach.
Starting from bare ground
If you are building from scratch, you need a solid concrete slab as your substrate for a tile installation. Compact the subgrade thoroughly, install a gravel base (typically 4 to 6 inches, more in freeze-prone areas or poor-draining soils), and pour a reinforced concrete slab at least 4 inches thick. In areas with clay soil, poor drainage, or hard freeze cycles, increase your base thickness. In less ideal conditions like poor drainage or hard freeze cycles, CMHA notes that you may need to increase the base thickness to reduce freeze-thaw damage risk and improve performance on challenging soils increase your base thickness. The slab needs to cure fully (at least 28 days) before you tile over it. Trying to tile fresh concrete is one of the most common and costly mistakes on outdoor projects.
Tiling over an existing concrete slab
Inspect the slab carefully before you do anything else. Cracks in concrete are a serious issue for tile. If you set tile directly over a crack, that crack will almost certainly transfer through the thinset and crack your tile or grout too. The solution is a crack-isolation membrane applied over the slab before tiling. Products like Schluter DITRA or LATICRETE HYDRO BAN sheet membrane serve double duty here: they isolate cracks and provide waterproofing. For cracks wider than about 1/8 inch, consult a structural engineer before proceeding because that may indicate a movement or settlement problem that tiling will not fix.
Check that the slab surface is clean, sound, and properly sloped. Grind down high spots and fill low spots with a floor-leveling compound or mortar bed to achieve your drainage slope. The surface must be free of paint, sealers, oil, or any bond-breaking contamination. If the slab has a curing compound on it from original placement, grind or scarify the surface so the thinset has something real to bond to.
Choosing and installing your underlayment or membrane
For most exterior patio tile jobs, an uncoupling and waterproofing membrane is the right choice. Schluter DITRA handles uncoupling (preventing tile from cracking as the substrate moves), waterproofing, and vapor management. DITRA-DRAIN adds built-in drainage capability, which is useful when you need water to move away from the assembly efficiently. LATICRETE HYDRO BAN sheet membrane is another strong option, installed with compatible thinset and seam tape at all overlaps and transitions. Note that TCNA guidance does not recommend cement backerboard systems for uncovered exterior decks, so skip the cement board approach that works fine indoors.
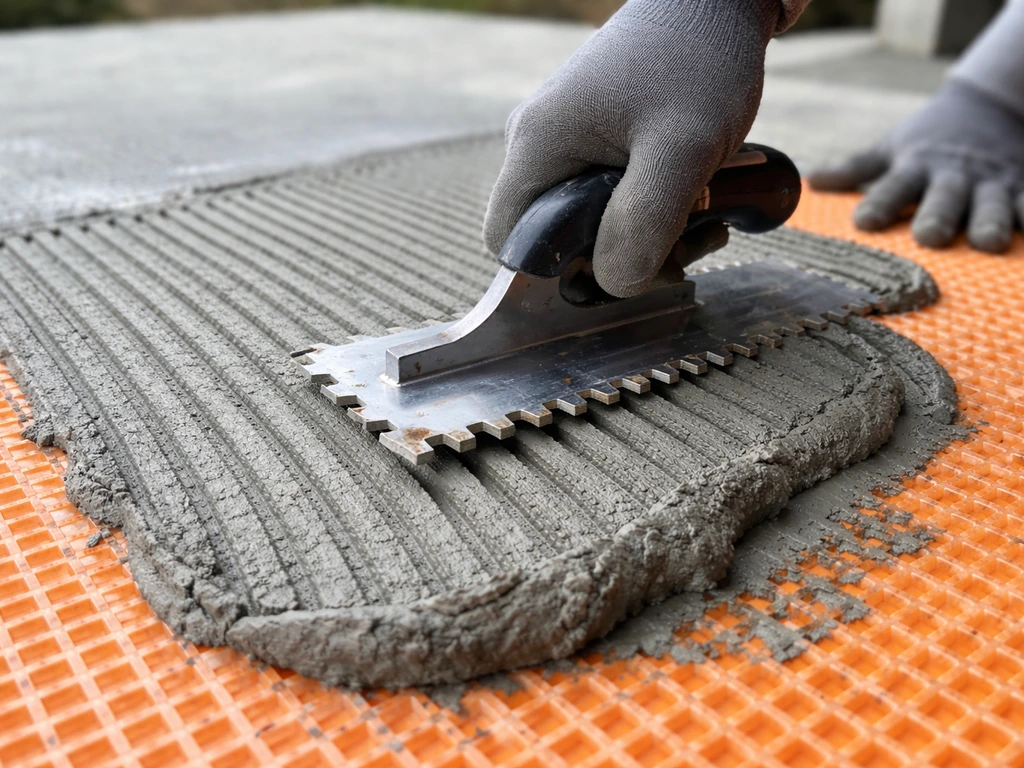
To install DITRA, spread thinset over the slab using a 1/4 inch x 3/16 inch V-notched trowel (Schluter's specified size for membrane bonding), press the membrane fleece-side down into the mortar, and work out any air pockets with a float. At seams, overlap edges and use the appropriate seam treatment. Let the membrane bond cure before you set tile on top of it.
Step-by-step tile installation workflow
Once your base and membrane are solid, you are ready to set tile. Work systematically, keep checking your level and slope, and do not rush the mortar application. This is where attention to detail really pays off.
- Snap your layout lines on the membrane surface using chalk lines. Confirm your reference lines are square using the 3-4-5 triangle method before mixing any mortar.
- Mix your exterior-rated thinset to a smooth, peanut butter consistency with no lumps. Follow the manufacturer's water ratio exactly. Too much water weakens the bond.
- Apply thinset to the membrane using your notched trowel, working in a manageable section (about 10 to 15 square feet at a time). Hold the trowel at a consistent 45-degree angle to create uniform ridges.
- Back-butter each tile as well, especially large-format tiles (anything over 15 inches). Spread a thin skim coat on the back of the tile before pressing it into the ridged thinset on the membrane. This is how you hit that 95% mortar contact target.
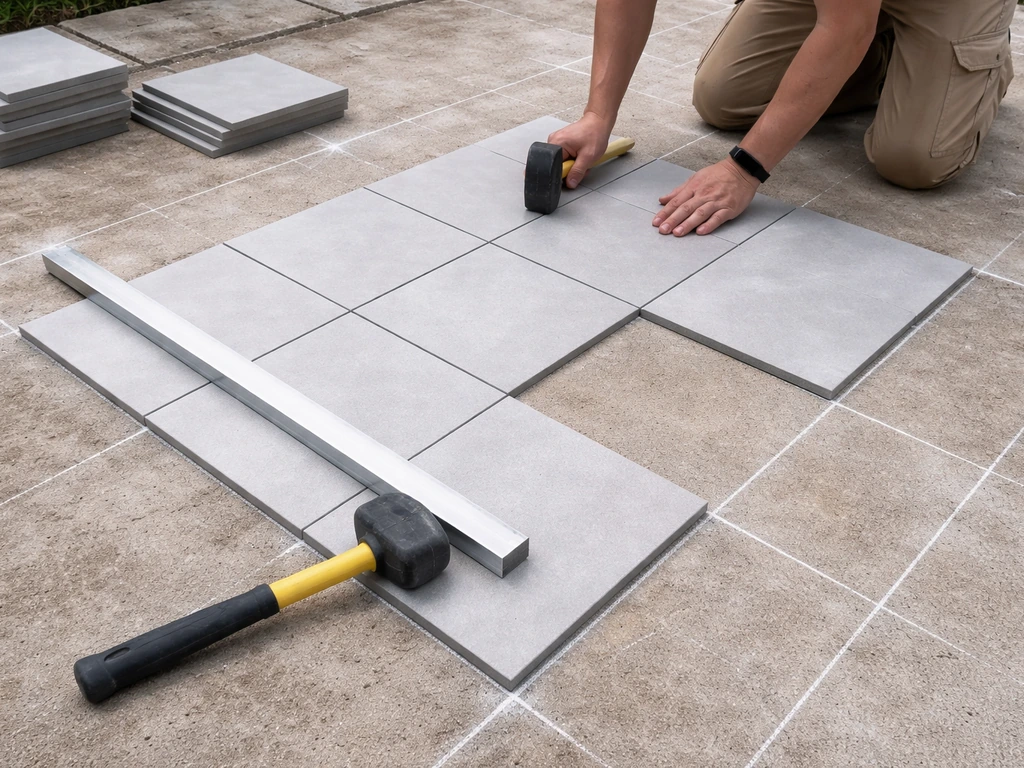
- Press each tile firmly into place with a slight twisting motion, then use a rubber mallet and a beating block to seat it evenly. Check for hollow spots by tapping: a dull thud means a void, a solid click means good contact.
- Use tile spacers consistently and check your work with a long level every few tiles. You are simultaneously keeping tiles flat and maintaining your drainage slope, so use a slope level or keep referencing a spirit level set along your planned slope direction.
- Remove spacers before the mortar skins over (usually within 30 to 60 minutes depending on temperature). Let the thinset cure fully per manufacturer instructions, typically 24 hours minimum before grouting, 48 to 72 hours before any significant foot traffic.
Work in sections that let you reach all tiles without kneeling on freshly set ones. Lay a piece of plywood over cured sections if you need to access far areas. And keep an eye on temperature: most thinsets should not be applied below 40°F or above 90°F, so avoid extreme heat or cold days for your installation.
Cutting, spacing, and managing expansion and movement joints
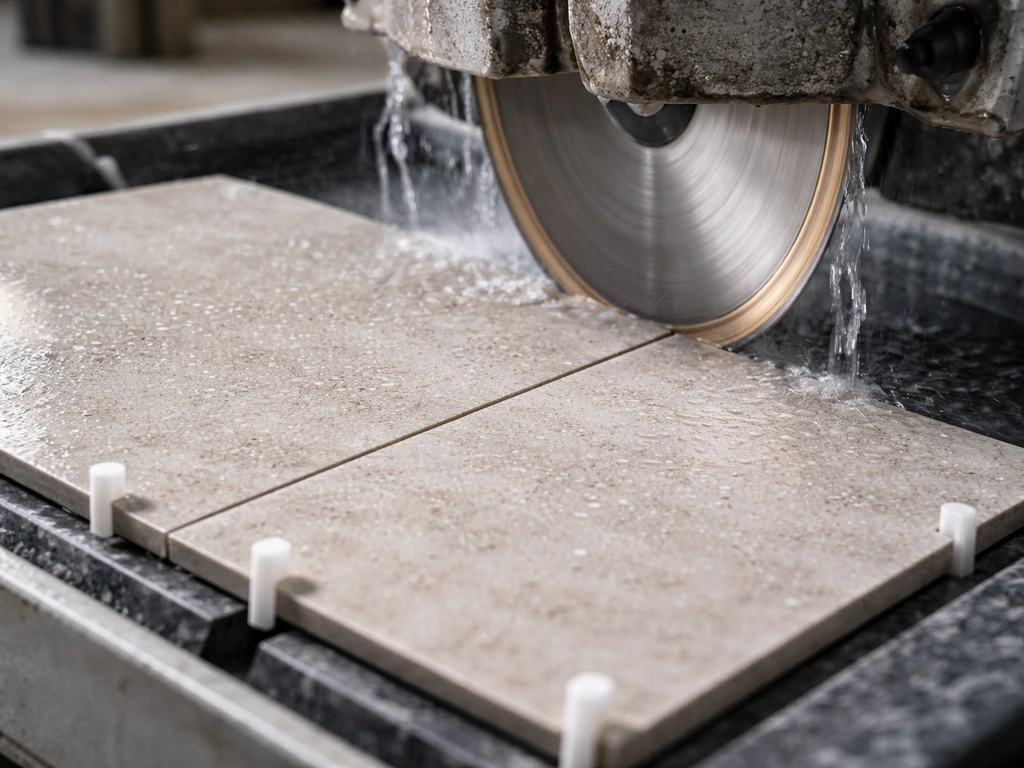
Cutting tile cleanly
For straight cuts, a wet saw with a diamond blade is the right tool for porcelain and stone. A manual snap cutter works for basic ceramic but will struggle with porcelain and often chips or cracks it. For L-shaped cuts around obstacles, make two intersecting wet saw cuts or use an angle grinder with a diamond blade (outdoors, with eye protection and a dust mask). Notched cuts around pipes or columns can be done with a tile nipper after scoring, but expect to work slowly and test-fit frequently.
Grout joint spacing
For most outdoor porcelain tiles, a grout joint of 3/16 to 1/4 inch is practical and gives the grout enough mass to stay durable. Very narrow joints (1/16 inch rectified tile joints) are harder to maintain outdoors because any slight movement telegraphs into the grout quickly. Wider joints also help accommodate the slight irregularities that come with outdoor installation. Use consistent plastic tile spacers and pull them before the mortar sets.
Movement joints: do not skip these
Outdoor tile assemblies expand and contract with temperature swings far more than indoor ones do. Without movement joints, that stress has nowhere to go except into your grout and tile. LATICRETE's exterior installation guidance calls for movement joints every 8 to 12 feet in each direction. TCNA EJ171 details the requirements, including that joints must be placed over all existing concrete control, construction, or expansion joints, at all changes of substrate, and where the tile meets any fixed or restraining surface like a wall, step, or threshold.
A movement joint is a gap filled with a flexible sealant (not grout) or a pre-made metal profile system like Schluter DILEX. Schluter’s movement-joints data sheet describes DILEX movement-joint profiles and provides joint width information for exterior movement joints blank" rel="noopener noreferrer">a pre-made metal profile system like Schluter DILEX. TCNA EJ171 guidance suggests joint widths typically no wider than 1/2 inch for exterior joints, with the depth matching roughly half the joint width. You can use a foam backer rod to fill the lower portion of the gap, then top it with a UV-stable, exterior-grade silicone or polyurethane caulk that matches your grout color. Never fill movement joints with cementitious grout. The grout will crack out within a season or two.
Grouting, sealing, and exterior finishing details
Choosing and applying grout
Use an exterior-rated cementitious grout or an epoxy grout for outdoor patio work. MAPEI specifically notes that certain cementitious grouts are appropriate for uncovered exterior areas. Epoxy grout is harder to work with (it sets fast and needs to be cleaned off tile surfaces immediately), but it does not need sealing because it is inherently non-porous. For most DIYers, a good-quality exterior cementitious grout with a quality penetrating sealer applied afterward is the more manageable approach.
Before you grout, make sure the thinset has cured fully and the tile faces are clean. Mix grout to a smooth, lump-free consistency. Work it into joints with a rubber float held at about a 45-degree angle, packing joints fully. Wipe the tile faces diagonally across the joints (not along them) with a damp sponge, rinsing frequently. Haze will remain after the first wipe. Come back with a clean damp sponge after 20 to 30 minutes and do a final cleanup. Let grout cure for a minimum of 72 hours at 70°F before applying sealer. In cooler temperatures, extend that wait time.
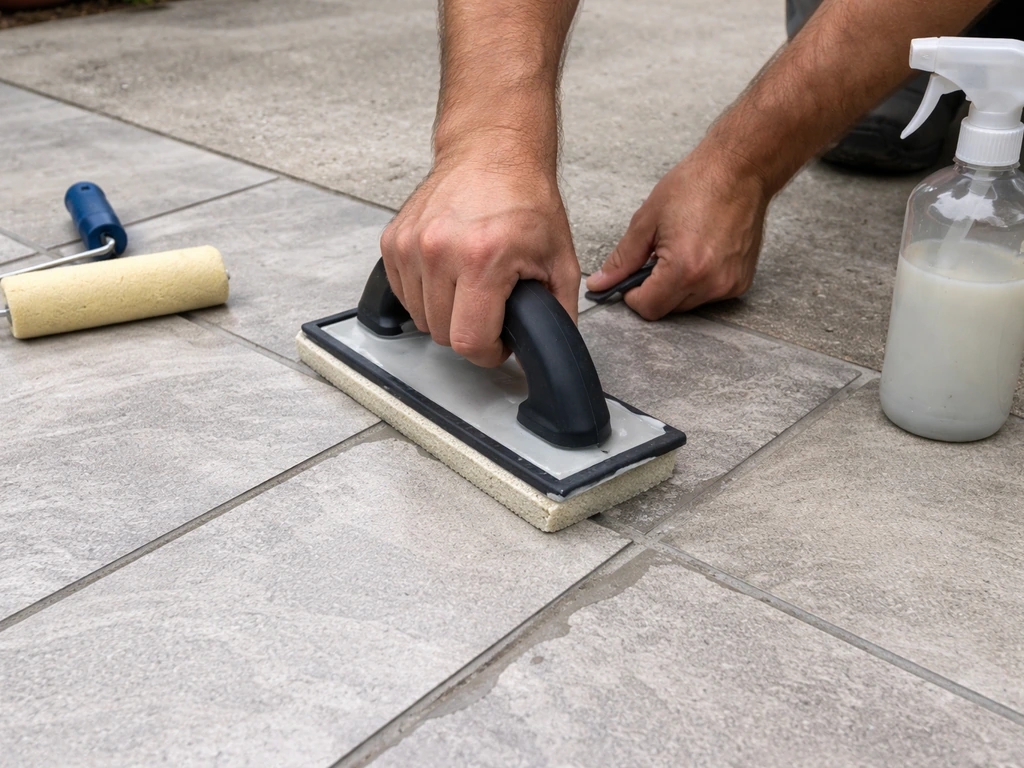
Sealing grout and tile
Cement grout is porous and will stain and absorb moisture without a penetrating sealer. After the cure period, apply a penetrating stone, tile, and grout sealer. MAPEI's UltraCare Penetrating Sealer, for example, is formulated for use on exterior natural stone, unglazed porcelain, and cement grouts. Apply it per the manufacturer's directions, typically wiping it on, letting it penetrate for a few minutes, and buffing off the excess before it can leave a film. Reapply every one to two years depending on traffic and climate. Epoxy grout, as LATICRETE notes, does not require sealing. If your tile is glazed porcelain, the tile face itself does not need sealing, only the grout joints do.
Finishing the edges and transitions
Exposed tile edges at patio borders need to be finished so they do not chip and are safe to walk past. Options include bullnose tiles (tiles with one finished rounded edge), metal schluter edge trim profiles, or a soldier course of coping tiles. At any transition where the tile meets a door threshold, step, or wall, install a movement joint filled with flexible caulk rather than grout. This is one of the most overlooked details and also one of the most common places where tile installations fail at perimeter edges.
Troubleshooting common outdoor patio tiling mistakes
Even careful DIYers run into problems. Here are the most common failure points on outdoor tiled patios and what to do about them.
| Problem | Likely Cause | Fix or Prevention |
|---|---|---|
| Tiles lifting or popping off | Insufficient mortar contact, wrong thinset, or no movement joints | Use back-buttering + notched trowel for 95%+ coverage; use exterior-rated mortar; install movement joints every 8–12 ft |
| Cracked tile or grout | Crack in underlying slab transferring through, or thermal movement with no relief joints | Install crack-isolation membrane before tiling; add movement joints at correct intervals |
| Water pooling on patio surface | Incorrect or missing slope in the base | Build in 1/4 inch per foot (2%) slope away from structure during base prep; correct with mortar bed if needed |
| Grout crumbling or washing out | Grout used in movement joint locations; unprotected exposure to freeze-thaw | Fill movement joint gaps with flexible sealant, not grout; use exterior-rated grout and seal it properly |
| Efflorescence (white powdery residue) | Water moving through the assembly and depositing mineral salts at surface | Improve drainage slope; ensure waterproofing membrane is properly installed; use a penetrating sealer on grout |
| Tile slippery when wet | High-gloss or low-DCOF tile selected | Choose textured or matte-finish porcelain with DCOF ≥ 0.42 for outdoor wet surfaces |
| Thinset skinning before tile is set | Working too large an area at once in hot or windy conditions | Work in smaller sections (8–10 sq ft); use a slower-setting mortar in hot weather; mist the slab lightly before applying mortar |
One more thing worth mentioning: if your soil is clay-heavy, expansive, or drains poorly, take the base preparation stage more seriously than you might otherwise. These conditions increase the risk of frost heave and differential settlement, both of which will crack your tile and membrane over time. In those cases, increase your gravel base depth, consider adding perimeter drainage, and make sure your slab reinforcement is adequate. Getting the ground conditions right is not glamorous work, but it is exactly what separates a patio that lasts 20 years from one that needs replacing in five.
Your day-by-day realistic workflow
Here is a practical breakdown of how the project unfolds across multiple days for a typical 200 to 300 square foot outdoor patio, assuming the concrete slab is already in place and cured.
- Day 1: Clean and inspect the slab, grind high spots, fill low spots, confirm slope, snap chalk lines for membrane and tile layout.
- Day 2: Install waterproofing/uncoupling membrane using the correct trowel and thinset. Let cure 24 hours.
- Day 3: Dry-lay tile to confirm pattern and mark movement joint locations. Begin setting tile in main field areas, back-buttering every piece.
- Day 4: Complete tile setting, including cut pieces at borders. Let thinset cure 48 hours minimum.
- Day 5 or 6: Remove spacers, clean tile faces, mix and apply grout. Clean off haze. Install flexible sealant in movement joints.
- Day 8 or 9 (after 72-hour grout cure): Apply penetrating grout sealer. Install edge trim or coping at exposed borders.
- Final check: Walk the entire surface tapping each tile to listen for hollow spots. Recheck slope by pouring a small amount of water and watching drainage direction.
If you are also planning to tile a patio table or a smaller surface alongside this project, the approach for that kind of horizontal outdoor surface shares some principles (outdoor-rated tile, proper adhesive) but differs in scale and structural requirements. This same care, including outdoor-rated tile and the right thinset and membrane, is also what you need when you’re learning how to tile patio table surfaces. The process described here specifically focuses on ground-level patio installation on a concrete slab, which is the most involved version of the project and the one where preparation details matter most.
Tools and materials checklist
- Wet saw with diamond blade
- Angle grinder with diamond blade (for notch cuts)
- Notched trowel (1/4 inch x 3/16 inch V-notch for membrane; 1/2 inch x 1/2 inch square notch for tile setting)
- Rubber mallet and beating block
- Long straightedge or level (4 to 6 feet)
- Slope level or digital level
- Chalk line and tape measure
- Rubber grout float
- Large sponges and buckets
- Tile spacers in your target joint width
- Mixing paddle and drill
- Outdoor-rated porcelain tile (plus 10% overage for cuts and waste)
- Exterior-rated polymer-modified thinset
- Waterproofing/uncoupling membrane (DITRA, DITRA-DRAIN, or HYDRO BAN)
- Seam tape for membrane overlaps
- Exterior-rated cementitious grout or epoxy grout
- Backer rod and UV-stable flexible caulk for movement joints
- Penetrating stone, tile, and grout sealer
- Edge trim or bullnose tile for borders
- Safety glasses, knee pads, dust mask
FAQ
Can I tile outside patio over an existing porch or sunken slab that is slightly uneven?
Yes, but you must correct drainage first. Use grinding for high spots and a cement-based patch or leveling compound for low areas while preserving the 1/4 inch per foot slope. Avoid trying to “shim” with extra thinset under every tile, it can create voids and reduce mortar contact.
How do I know whether my patio needs a membrane for crack isolation and waterproofing?
If you have any visible cracks, old hairline cracking, or control joints that align with tile layout, plan on an uncoupling and crack-isolation membrane. Also use one if the patio will be exposed to freeze-thaw, because the membrane helps protect the assembly when substrate movement is unavoidable.
What should I do if I cannot get the patio to slope away from the house?
If the slab drainage direction is wrong, you have to change the system during prep, either by building a new mortar bed with the required slope or using a sloped leveling approach. Do not rely on “grout lines will drain” because joints and grout are not a designed drainage plane and can still trap water.
Is porcelain still a good choice if my patio has lots of rain and becomes very slippery when wet?
Porcelain helps with moisture uptake, but slip performance comes from the surface finish. Prioritize a DCOF rating appropriate for wet conditions (often 0.42 or higher for exterior wet floors) and choose a matte, textured, or slightly rough finish over a polished look.
Can I use cement backerboard or tile board for an uncovered patio?
For most uncovered exterior deck installations, follow the membrane and uncoupling approach instead of cement backerboard. If you already have backerboard in place, assess it carefully for exterior-rated installation details, because many systems are not designed to handle sustained freeze-thaw exposure and bulk water.
How thick should the thinset layer be for an exterior membrane and tile setup?
Use the trowel size specified for the membrane bond, then follow the coverage goal of near-full mortar contact behind each tile. If you find notched ridges but visible voids after pressing a test tile, you likely need to adjust trowel angle, tile pressing technique, or substrate flatness before continuing.
What temperature rules should I follow when setting tile outdoors?
Avoid installing when the forecast includes freezing temperatures or when it is excessively hot for the thinset cure system. Many mortars are not intended for application below 40°F or above 90°F, so check the product label and plan so curing can happen within the manufacturer’s window.
What grout joint width is best if I want a clean, modern look?
For exterior, extremely narrow grout joints are harder to keep durable because movement and minor substrate imperfections telegraph into the grout. A practical range is 3/16 to 1/4 inch for most outdoor porcelain work, with wider joints generally forgiving more than ultra-tight rectified seams.
Do I really need movement joints inside a patio field?
Yes. Expect movement at spacing intervals, at all substrate control or expansion joints, and at transitions where tile meets fixed surfaces. Fill them with a flexible sealant or a rated profile system, not grout, because grout will crack when the assembly moves.
How do I handle movement joints near a door threshold or step down?
Treat those areas as high-stress locations. Install the movement joint at the interface, then use flexible caulk (UV-stable, exterior-grade) matching the joint design. This prevents perimeter edge failure, which is a common weak point in outdoor tile installations.
Is penetrating sealer required on glazed porcelain or only on cement grout?
Typically the grout needs protection, even when the tile face is glazed. Cementitious grout is porous and stains more easily without sealer, while many epoxy grouts are non-porous and do not require sealing, so confirm based on your specific grout type.
What is the correct way to finish patio tile edges so they do not chip?
Use an edge finishing option designed for exterior traffic, such as bullnose tiles, a metal edge trim system, or a coping-style soldier course. Also keep perimeter joints flexible at transitions, so the edge does not crack due to differential movement.
How soon can I walk on the patio after grouting and sealing?
Plan for at least 72 hours cure time at typical room temperatures before applying sealer or allowing normal traffic. In cooler conditions, extend curing time to ensure grout has fully hardened before you seal or put weight on the surface.
What are the most common DIY mistakes after the tiles are installed?
Most failures start with drainage or compatibility issues, but after installation, the usual problems are skipping perimeter movement joints, using grout in movement joints, rushing cure time before sealing, and applying thinset or grout in unsuitable temperatures. If water sits anywhere, address the drainage before troubleshooting cracks or lifting.