
You can build a solid, long-lasting patio with cement blocks by excavating 8–10 inches deep, compacting the subgrade, laying 6 inches of compacted gravel, screeding 1 inch of bedding sand, then setting your blocks with 1/16–3/16 inch joints and locking everything in with polymeric sand. The whole process is very manageable for a first-timer as long as you get the base right and slope the surface at least 1/8 inch per foot away from your house. Skimp on any of those steps and you will deal with rocking blocks and puddles within a season or two. Get them right and your patio will stay level and drain properly for decades.
How to Build a Patio With Cement Blocks: Step by Step

Clara Farrell
8 Jul 2026
Plan it out before you touch a shovel
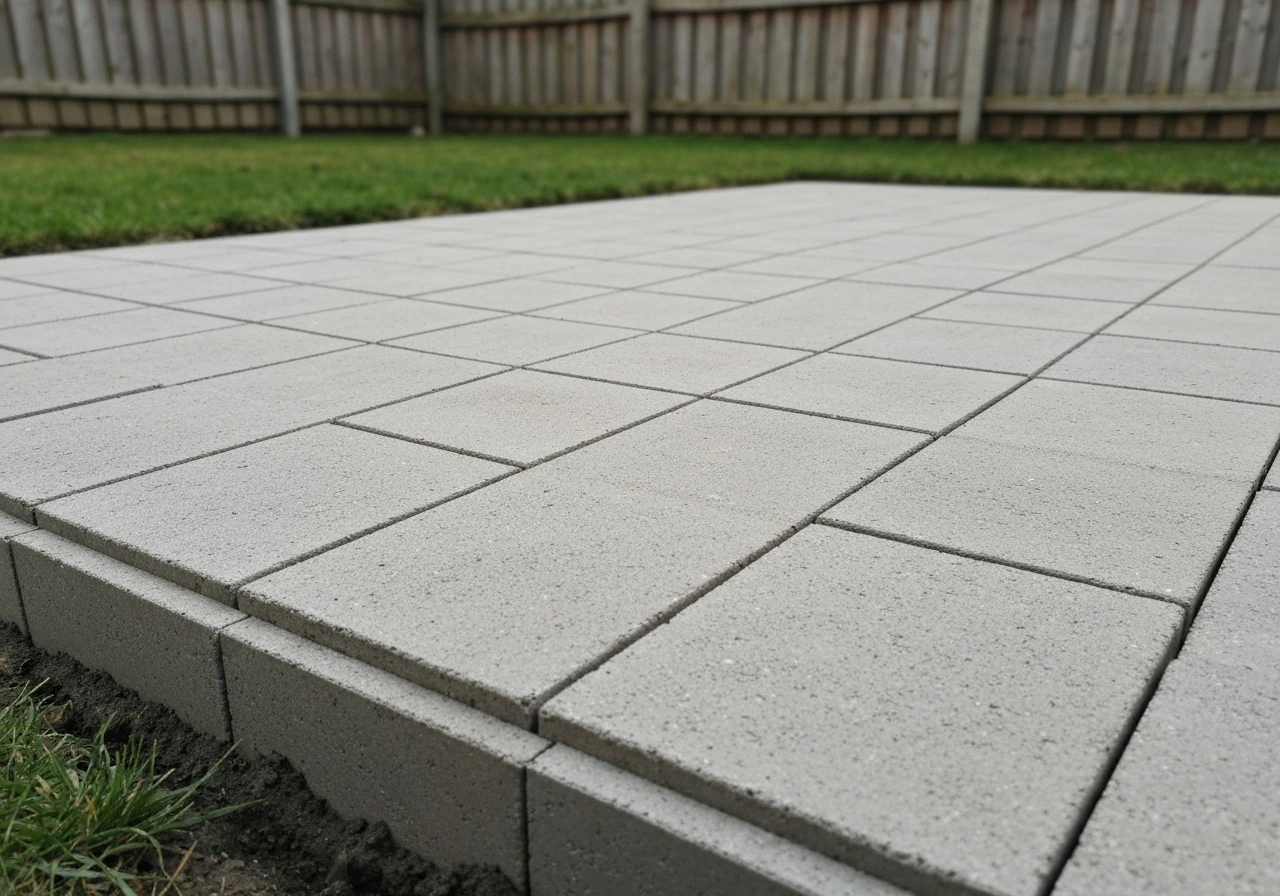
Good planning saves you from the two most common mid-project disasters: running out of blocks and realizing your patio drains toward the house. Cinder block steps can follow the same principles as a patio, especially around proper base depth, drainage slope, and compacted layers beneath the blocks patio drains toward the house. Start by measuring your desired patio area and sketching it on paper. Note where your house wall, doors, and any existing structures are, because water must flow away from all of them. A slope of 1–2% away from your home (roughly 1/8 inch to 1/4 inch of drop per foot) is the target that keeps pooling from happening. Even a patio that looks flat needs this built-in pitch.
When it comes to block layout, the pattern you choose affects how many cuts you will need. A running bond (staggered rows like brickwork) is the easiest for beginners and produces fewer cuts than a herringbone or basket-weave pattern. Decide on your pattern before ordering materials, because herringbone at 45 degrees will add about 15% more material for edge cuts. For a standard rectangular patio, a simple running bond is where I would start.
For material quantities, measure length times width to get square footage, then add 10% for cuts and breakage. Typical cement patio blocks are 2–3/8 inches thick, so your base layers need to account for that finished height. If you want the finished patio surface to sit flush with or just above surrounding grade, work backward: 1 inch of bedding sand plus 6 inches of compacted gravel plus the block thickness tells you how deep to dig.
- Sketch the patio with dimensions and mark the high point (closest to house) and low point (drainage direction)
- Calculate slope: a 12-foot-wide patio needs 1.5 inches of drop from house edge to outer edge at 1/8 inch per foot
- Measure square footage and add 10% for waste
- Call 811 (Dig Safe) at least 3 business days before excavating to locate buried utilities
- Check local permit requirements — most areas do not require permits for ground-level patios, but verify before starting
- Choose your block pattern: running bond for simplicity, herringbone for visual impact with more cutting
Drainage comes first: excavation done right
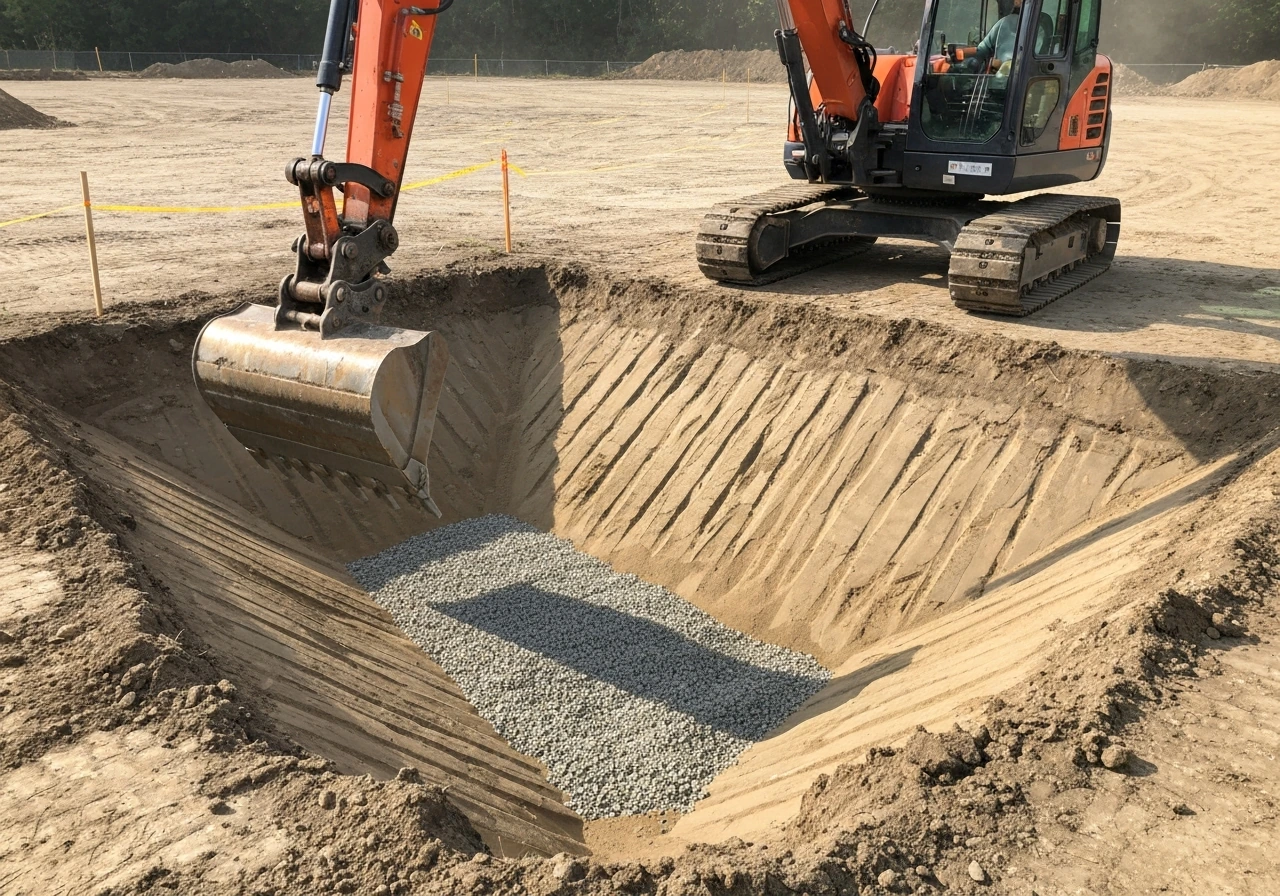
Excavation is where most DIYers go wrong by not going deep enough. You need enough depth for your gravel base, your bedding sand, and your blocks, plus you need the finished surface to sit at the right height relative to your lawn and home. If you need step-up height, learn how to build a raised patio with retaining wall blocks so the edges and slopes stay stable. For most residential cement block patios, plan on digging 8 to 10 inches below your finished surface elevation. Mark all four corners with stakes, run string lines between them at the finished height, and measure down from those lines as you dig.
Drainage is not just about slope, it starts with how you handle the excavated area. Remove all grass, roots, and organic material completely. Organic material decomposes and creates voids that cause blocks to sink unevenly over time. Once you have cleared the area, check for any low spots where water might collect in the subgrade itself. If you have clay-heavy soil, consider adding a layer of geotextile fabric on the subgrade before your gravel goes in. Clay soil compacts poorly and holds water, which is the enemy of a stable patio base.
This is also the right moment to think about where excess water will actually go once it leaves your patio. A properly sloped patio sheds water to the lawn or a planted bed, that is fine for most situations. If your yard has poor overall drainage or your patio is hemmed in by walls or a fence, you may need a simple French drain or channel drain at the low edge. Sorting this out now is far easier than retrofitting drainage after the patio is installed.
Building the base: the most important part of the whole job
I cannot overstate this: the base is everything. A beautifully laid surface will look terrible and fail quickly if it is sitting on a weak or uneven base. The base has three layers: the compacted subgrade (the native soil you just exposed), a compacted gravel base, and a screeded bedding sand layer. Each one has a specific purpose and thickness.
Compact the subgrade
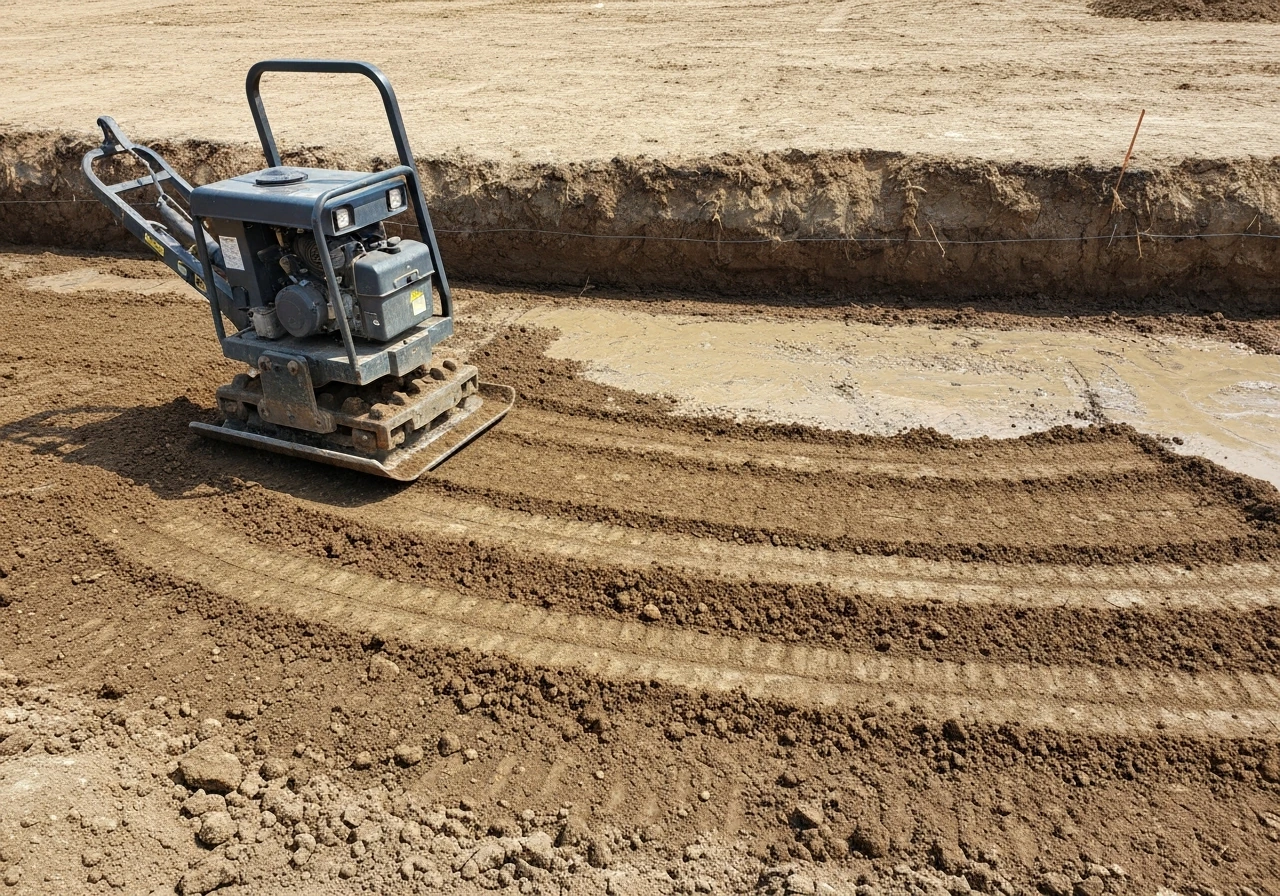
After excavating, compact the native soil with a plate compactor before adding anything on top of it. If the soil is loose or sandy, dampen it slightly before compacting, it helps the particles bind. Run the plate compactor in two perpendicular directions across the entire area. Rent a plate compactor from your local equipment rental shop; a hand tamper is not adequate for anything larger than a very small accent area.
Gravel base layer
Add your compactable gravel (crushed stone, road base, or Class II base rock) in layers no thicker than 6 to 8 inches each. Spread a layer, compact it thoroughly with the plate compactor, then add the next layer if needed to reach your target depth of 6 inches total. Compacting in thin lifts like this is the industry-standard approach for achieving a dense, stable base, skipping this and dumping all the gravel in at once leads to a base that compacts unevenly later under foot traffic and weather. Use a line level or your string lines to check that the gravel surface follows your intended slope.
Install edge restraints now
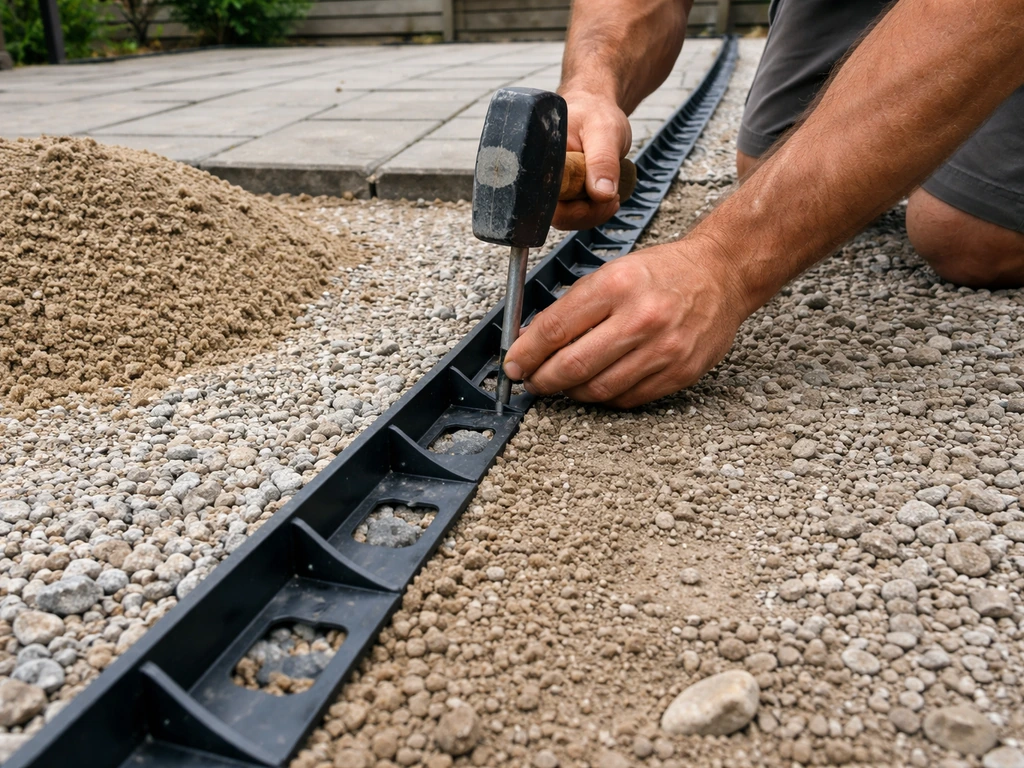
Before screeding your bedding sand, install plastic paver edge restraints around the perimeter of your patio and spike them down through the gravel into the subgrade. Edge restraints are what prevent the outer blocks from slowly migrating outward over time, without them, the whole patio gradually creeps apart at the edges. This is a step some beginner guides skip or mention as optional. It is not optional.
Bedding sand layer
Use clean, coarse concrete sand (also called sharp sand) for the bedding layer, not fine play sand or masonry sand. Dump and rake the sand to just over 1 inch thick, then screed it flat using pipes or wooden screed rails as guides. The standard method is to lay two 1-inch-diameter metal pipes or electrical conduit parallel across the base, fill the space between them with sand slightly higher than the pipes, then drag a straight 2x4 across the top of the pipes to cut the sand down to a perfectly even 1-inch depth. Pull the pipes out and fill the tracks with sand before laying blocks. The target is a firm, consistent 1-inch bedding layer.
One critical rule after screeding: do not walk on the prepared sand bed. Every footprint creates a dip that transfers directly to your block surface as an uneven spot. Lay a kneeling board on top of already-laid blocks as you work forward to avoid disturbing the screeded sand ahead of you.
String lines and layout: get your alignment right before block one goes down
Before you lay a single block, set up string lines at your finished surface height. Drive stakes at each corner, stretch string lines tight between them using a line level or water level to confirm the slope is correct, then double-check your measurements. The string lines serve two purposes: they give you a height reference as you lay blocks, and they give you a straightness guide for keeping rows aligned. Measure down from the string line to the sand surface, it should match your block thickness consistently across the whole area.
For a running bond pattern, snap a chalk line on the sand to mark your first row. If you are planning a herringbone or basket-weave layout, review the recommended block layout pattern so you budget for the extra edge cuts herringbone or basket-weave pattern. Starting in a corner or along a straight edge (like your house wall) is usually easiest. If your patio is rectangular and your house wall is straight, start there and work outward. If the patio is freestanding, find the center, snap a center line, and work out from there to keep the pattern balanced and minimize awkward cuts at the edges.
How to lay cement patio blocks
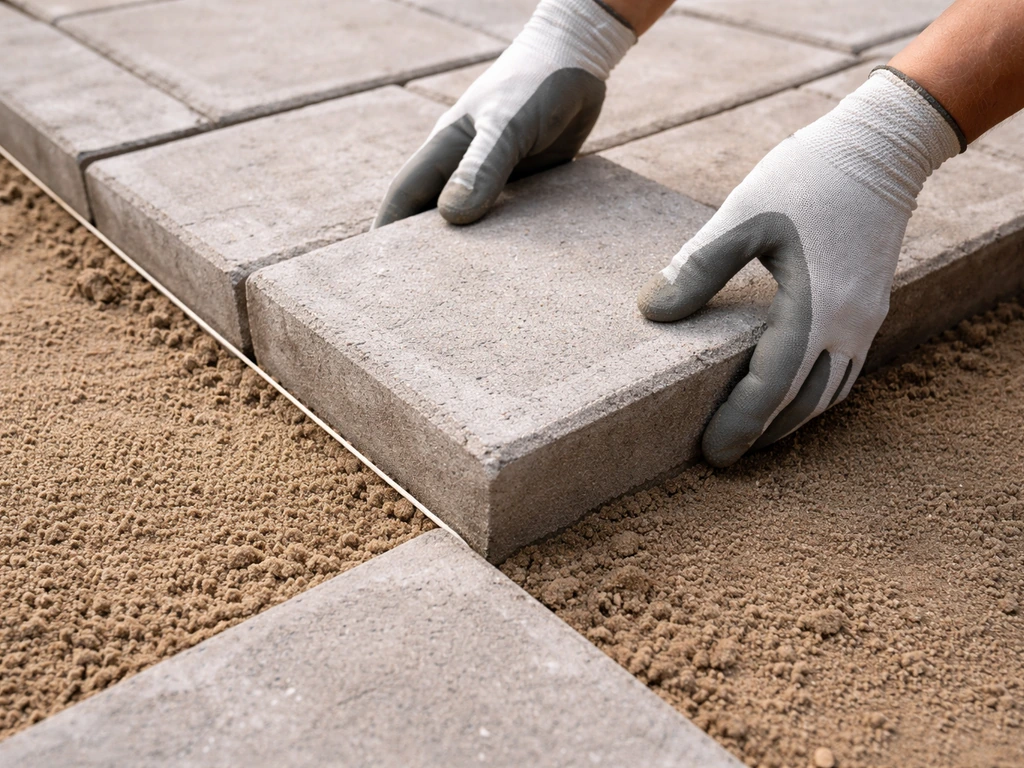
Cement/concrete patio blocks for a standard sand-set patio do not use mortar under them, they sit directly on the screeded sand bed. This is important: do not add extra sand under individual blocks to try to level them. If a block is too low, pull it up, add a small amount of sand, and re-screed that spot flat. If it is too high, remove some sand. Always adjust the sand, not the block.
- Start at a corner or your reference edge and place the first block down gently — do not slide it, lower it straight onto the sand
- Set each subsequent block tight against the last, leaving a joint of 1/16 to 3/16 inch (about 2–5 mm) between blocks
- Check the surface with a long level every 4–6 blocks to catch any high or low spots early
- Use a rubber mallet to tap blocks gently into position — a couple of firm taps is all you need, hard strikes will disturb the sand under adjacent blocks
- Work from a kneeling board placed on already-laid blocks so you never step on the screeded sand ahead of you
- Check alignment against your string line every few rows and adjust as needed before the deviation gets worse
- Periodically run a straightedge or long level across multiple blocks to check for rocking — a rocking block means the sand beneath is uneven and needs correcting now, not later
For thicker cement blocks used in more structural applications (like raised patio platforms or steps), a mortar setting bed may be appropriate instead of sand. If you are building standard patio blocks flush with grade, the sand-set method described here is the correct approach. If you are building patio block steps or a raised patio with retaining wall blocks, the setting method changes and you will want to follow specific guidance for those configurations. Patio block steps follow similar principles, but you may need to use different setting and leveling methods to support the rise and tread properly.
Cutting blocks and finishing edges
Almost every patio will require at least some cut blocks at the edges, around obstacles, or to complete a pattern. There are a few ways to do it, and the right choice depends on how many cuts you need and what tools you have access to.
| Cutting Method | Best For | Pros | Cons |
|---|---|---|---|
| Wet-cutting circular saw or angle grinder with diamond blade | Clean straight or curved cuts, high volume | Fast, precise, clean edge, reduces dust with water | Requires renting or owning a diamond blade saw, wet/messy setup |
| Angle grinder with diamond blade (dry) | Occasional cuts, curved or angled cuts | Portable and affordable | More dust, shorter blade life, noisier |
| Hammer and bolster/chisel | Rough cuts on thick blocks, infrequent use | No power tools needed | Less precise, can split unevenly, not great on harder blocks |
| Block splitter (rented) | High volume of straight cuts | Fast and consistent | Only makes straight cuts, bulky to rent and transport |
For most DIY cement block patios, renting a wet-cutting saw with a diamond blade is the cleanest and most efficient option. Match the blade to your material, a blade rated for concrete works better than a general masonry blade on cement patio blocks. Mark your cut line with chalk or a pencil, score the surface first with a shallow pass, then cut through fully in one or two deeper passes. Always wear eye and ear protection, and gloves.
Once all blocks are laid and cut pieces are in place, compact the entire surface with the plate compactor run over the blocks to seat them firmly into the sand. Use a pad or rubber plate cover on the compactor to avoid chipping block faces. This compaction step is what locks the blocks down and ensures they all sit at a consistent height.
Filling the joints
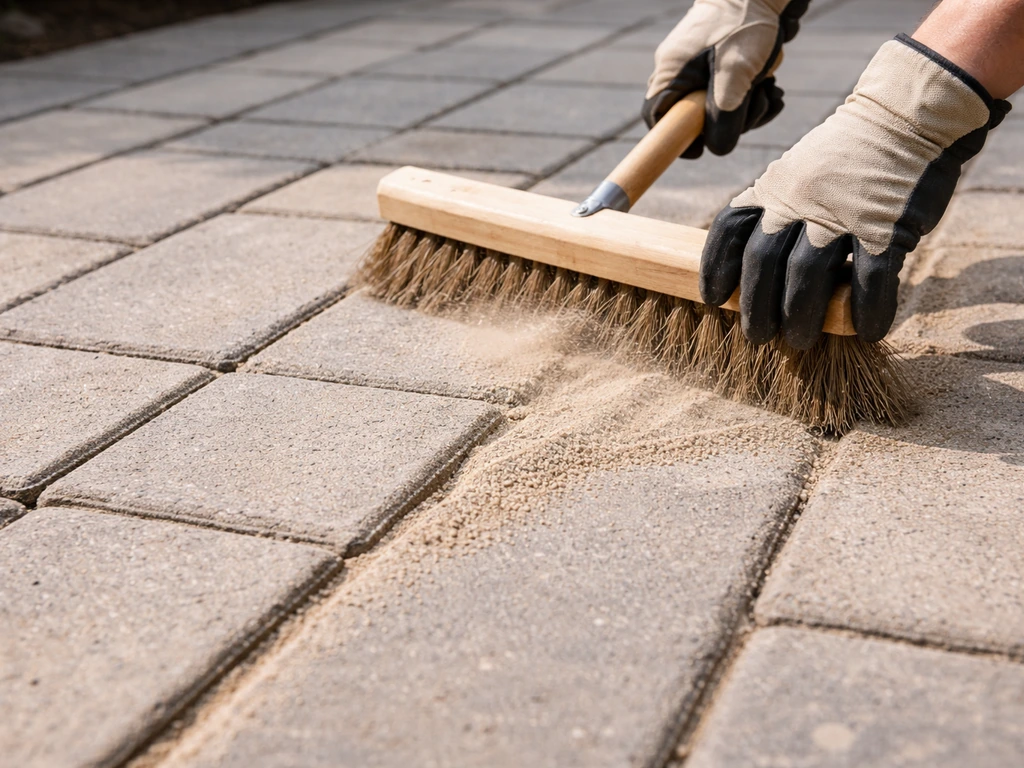
Once blocks are compacted, sweep jointing sand into the gaps. For most cement block patios, polymeric jointing sand is the best choice, it activates with water, hardens, and resists washout and weed growth far better than plain sand. Polymeric sand works best in joints between 1/4 inch and 1.5 inches wide, so it suits the 1/16–3/16 inch joints of standard patio blocks. Make sure your joint width falls within the product's specified range, because some polymeric sands have minimum joint width requirements. Sweep multiple passes to fill joints fully, then activate with a light water mist per the manufacturer's instructions. Keep foot traffic off the patio for at least 24 hours after activation.
Common problems, fixes, and keeping your patio in good shape
Mistakes DIYers make most often
- Not digging deep enough: results in the patio sitting too high above grade or an insufficient gravel base — there is no fix except pulling it up and starting over
- Skipping compaction between gravel lifts: the base settles unevenly under use, causing blocks to dip and rock within a year or two
- Using too much bedding sand: a sand layer thicker than about 1.5 inches compresses unpredictably under load and creates a wavy surface over time — stick to 1 inch
- Walking on screeded sand before blocks are laid: footprints create low spots that show up immediately as uneven blocks
- No edge restraints: outer rows migrate outward, gaps open up, and the whole patio slowly falls apart from the edges inward
- Wrong drainage slope: even a small flat spot or reverse slope toward the house creates a permanent pooling problem
- Using the wrong jointing sand: fine play sand or regular construction sand washes out easily and encourages weeds — use polymeric jointing sand
Mid-project fixes
If you notice blocks rocking or sitting uneven mid-installation, fix it immediately, it does not get easier after the whole patio is laid. Pull up the affected block or blocks, check the sand beneath for dips or high spots, re-screed that section, and relay. If an entire section is running high or low relative to your string lines, you likely have a gravel base issue in that zone. Pull up the blocks, pull the sand, re-check and re-compact the gravel, then replace the sand and re-lay. Yes, it is frustrating. But pulling up 10 blocks to fix the base is much better than living with a lumpy patio or pulling up the whole thing after the jointing sand is in.
Sealing and long-term maintenance
Sealing is optional but worth doing, especially in climates with freeze-thaw cycles or heavy UV exposure. Wait 30 to 90 days after installation before sealing a new cement block patio, sealing too early can trap moisture that has not fully cured out of the blocks and cause surface issues. Use a silane-siloxane based penetrating sealer designed for concrete pavers and masonry. Avoid film-forming sealers that sit on top of the surface and can peel or make blocks slippery when wet.
For ongoing maintenance, re-sweep polymeric jointing sand into any joints that have thinned out from weathering, usually once every couple of years. Check edge restraints and stakes each spring, frost heave can work spikes loose over winter. If individual blocks sink or shift after a hard winter, they are almost always easy to lift, re-level, and reset as long as your base underneath is still sound. The beauty of a sand-set cement block patio is exactly this: individual blocks can be repaired without touching the rest of the surface.
FAQ
Can I build a cement block patio directly on top of existing concrete or pavers?
Usually no. The sand-set method depends on a stable, evenly compacted base and consistent drainage under the blocks. If you have existing concrete that cannot be removed, you should treat the patio as a separate surface with an appropriate leveling system and drainage plan, or switch to a different assembly method. Otherwise, trapped moisture and weak bonding at the interface can cause settling or cracking.
What subgrade soil conditions are “good enough,” and when should I add geotextile or drainage?
If your soil is clay-heavy, use geotextile on the subgrade before adding gravel to reduce pumping and water retention. If you have persistently wet areas, standing water, or a yard that drains poorly in general, plan drainage at the low edge before you install blocks (for example, a French drain or channel drain). Don’t rely on surface slope alone when the surrounding yard keeps supplying water to the patio base.
How do I avoid running out of blocks if my patio requires many cuts?
Your 10% overage works for simple layouts, but cut-heavy patterns or many tight edges can require more. Estimate cuts per side based on the number of block widths you lose to borders, odd dimensions, and obstacles, then add that extra amount before ordering. It is also wise to buy a small batch of extra blocks specifically for replacements, since matching color and batch can vary.
My patio area is not perfectly rectangular. How should I lay blocks and keep the slope consistent?
Use string lines to define the finished height at multiple points, not just two opposite corners. For irregular shapes, measure and adjust slope so every point is still dropping away from the house at the target rate. Then lay a baseline row along the longest straight edge, and build from there, so you don’t end up with a “twist” that creates tight wedges at the ends.
What joint width should I use for polymeric sand, and what if my joints end up too narrow?
Polymeric jointing sand generally performs best when joints fall within the manufacturer’s specified range (commonly for patio blocks that are installed with roughly 1/16 to 3/16 inch joints). If joints are narrower than allowed, the sand may not activate or lock properly, leading to washout or weed growth. If joints are too wide, you may need to adjust installation spacing or use a compatible jointing material intended for wider gaps.
Is it okay to re-screed and “shim” individual blocks instead of redoing the base?
For small corrections during installation, you should adjust the bedding sand under the block by pulling up and re-screeding that spot. If an area is consistently high or low relative to your string lines, that points to a base or gravel-lift problem. In that case, fix the gravel and re-pack first, then restore the sand, because repeatedly shimming at the block level can create uneven loads and premature settling.
How do I compact around the perimeter and ensure edges don’t kick out later?
Edge restraints are critical, and they must be set with solid contact down into the base, not just lightly placed on top of sand. When compacting, keep the compactor pressure and technique consistent, and use a rubber plate cover to avoid damaging block faces. After compaction, re-check that the edge restraint alignment matches your string height so the outer blocks are supported uniformly.
What should I do if blocks start rocking during installation before joints are filled?
Stop immediately. Lift the affected block(s), check for dips or high spots in the bedding sand, then re-screed that section to a flat, consistent 1-inch depth. Relaying and re-compacting that zone is the correct fix. Once polymeric sand is in, correcting rocking becomes harder and can disturb joints.
Can I install polymeric sand and activate it right away after sweeping joints?
You should confirm the block surface is fully installed and compacted first, then sweep jointing sand into the gaps with multiple passes. Follow the manufacturer’s activation instructions for water amount and avoid over-wetting. If you install and activate during very hot, windy, or rainy conditions, activation can be inconsistent, so adjust timing and protect the patio from foot traffic until curing is complete.
When is sealing necessary, and how do I choose the right sealer?
Sealing is most helpful in freeze-thaw climates or areas with heavy UV exposure, but it is not mandatory in all regions. Choose a penetrating silane-siloxane sealer for concrete pavers and masonry, and test on a small inconspicuous area first. Also wait the recommended curing window after installation, since sealing too early can trap moisture that has not finished curing.
How often should I check or top off polymeric sand, and what signs mean I need to reset joints?
Check joints after the first winter and then periodically (for example, every couple of years). If you see joints shrinking, sand washing out, or weeds starting in the seams, re-sweep fresh polymeric sand into joints and activate again if required. If blocks are shifting due to an unstable base, address the movement first, then restore the joints afterward.